
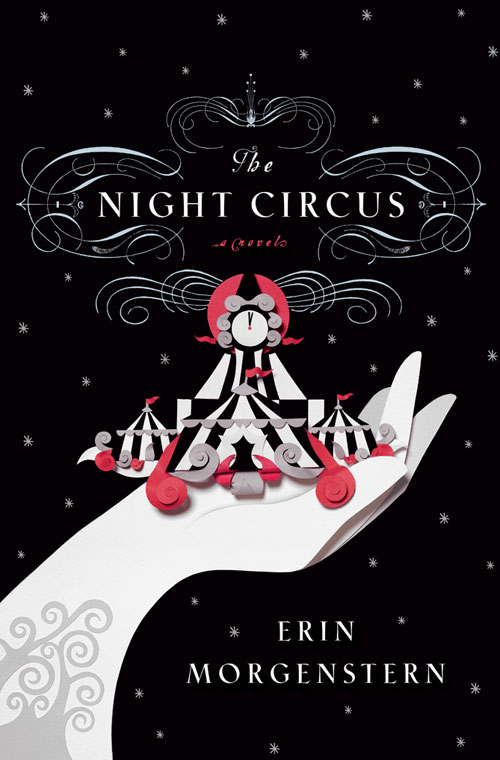
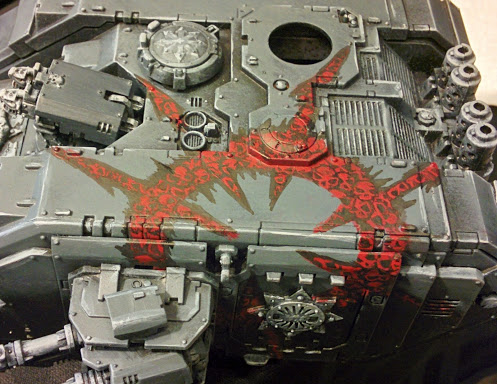
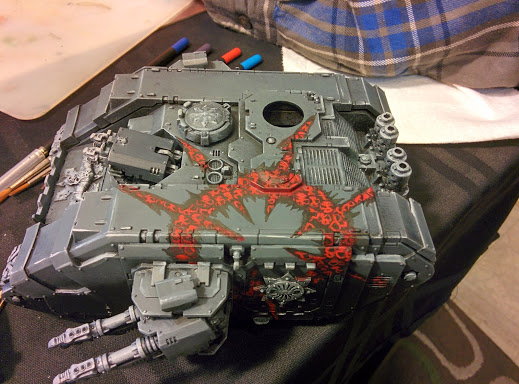
My current army has a paint scheme inspired by Erin Morgenstern’s, ‘The Night Circus’. It’s a wonderful novel in the fantasy genre with some of the best imagery that I have ever had the pleasure of reading. For anyone who hasn’t heard of ‘The Night Circus’, the style for the army is very close to a Frank Miller graphic novel, like ‘Sin City’. The style is monochromatic with just a few hints of red.

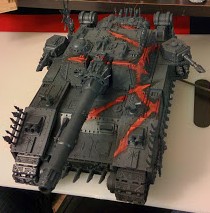
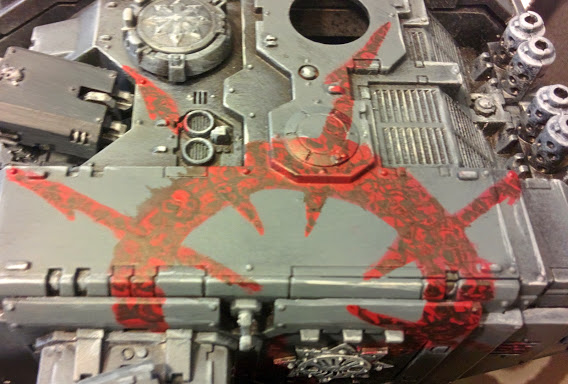
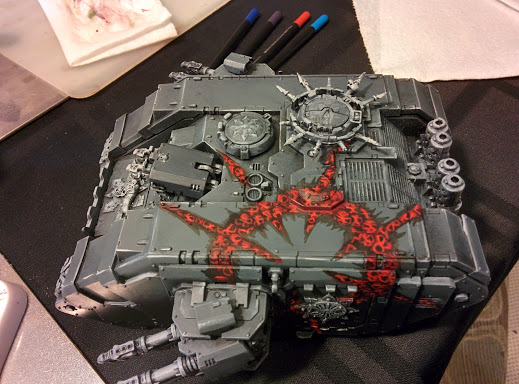
The challenge with a monochromatic paint scheme is making it interesting to look at from a distance. Looking down on a field of black, white, and grey can make everything blend together. My superheavy tanks for the army got a quick paint job to prepare for an apocalypse game. One of the Mercy Killers suggested that I use that for the rest of the army.
Peter, from this site and the Mercy Killers, suggested that I challenge myself a bit more and fill the icon with skulls. It seemed like a cool idea, so that is exactly where I ended up.

I posted this on twitter and asked anyone who wanted to see how it was done to retweet. More than a handful of loyal twitter followers retweeted. Here I am to show you how this is achieved. It is a little time consuming, but it’s much easier than many people may imagine.
Tutorial
Step 1: Outline your shape.
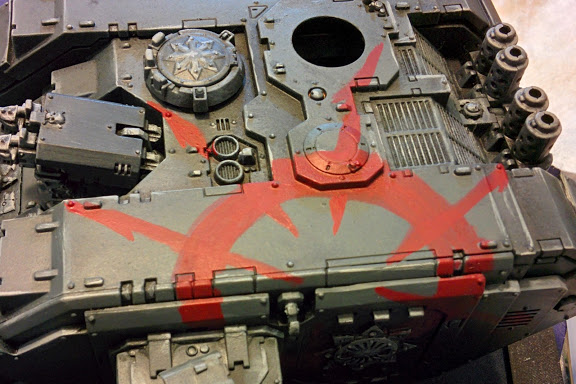
Here you just do a quick and dirty blocking of the icon you will be painting in. If you aren’t playing chaos, you can be a bit more careful to make a clean shape. Thicker lines and fuller shapes will come out looking better than thin wirey icons.
Step 2: Circles
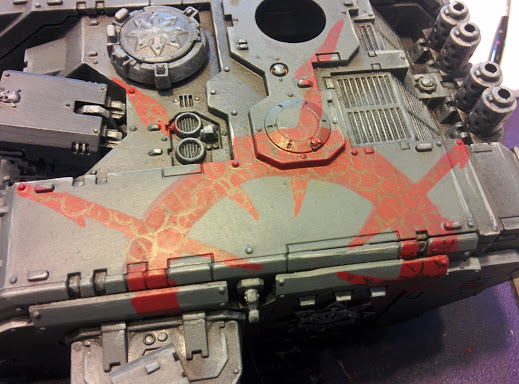
To create the basic shape of the skulls the first thing you want to do is draw orbs. These are just circles with a medium line showing facing. You can have everything face the same way, or my preference is to have everything facing in random directions. I use paintbrushs for evereverything, but a fine point sharpie can be used for this step. You will be painting over this in several layers so it’s whichever is easiest for you.


Step 3: Basic Skull Shape
Hopefully you can excuse my awful MS Paint skills, for a moment. This is the step where you turn your circles into wire frame skulls. Essentially all you need to do is paint in two roughly socket shaped blobs on either end of the median line and a triangle nose hole. Then you outline the eye sockets and the nose hole. Since there will be a ton of skulls, my major suggestion is to let go of being a perfectionist for this step. The difference between 100 imperfect skulls and 100 perfect skulls is mainly your sanity when you have finished.
Step 4: Clean Basic Skull
Hey look it doesn’t look as awful! I’m definitely not a graphic artist. Anyways, this step is where you finally make your skulls look like skulls. Go through and use your base color (Khorne Red) to clean up the skulls and remove your guiding lines. At this point, you have a skull filled icon and we will just be making it a little prettier in the next steps of the process.
Step 5: Layer #1
At this phase I put in all the jagged black outlines, except the section I forgot because I decided to drink while painting. (I don’t recommend that, but I still do it.) Here I am going through and painting Wazdakka Red into each of the skulls. I leave just a little khorne red showing near the outline as well as just above and below the eye socket ridges.
Step 6: Layer #2
Here I use a size 0 (detail) brush to go through and brighten everything up with Evil Sunz Scarlet. I paint within the Wazdakka like the previous step, except leaving more Wazdakka showing on the top of the skulls, on the side closest to the smaller of the two eye sockets. It should look like the light is reflecting more off the side of the skull facing you. I also finish outlining the shape because I realized I missed a spot.
Step 7: Highlight

Here I use a size 00 (Fine detail) to go through and highlight with a watered down Wild Rider Red. At this point, it finally starts to look like I might know what I’m doing.
Step 8: Glaze
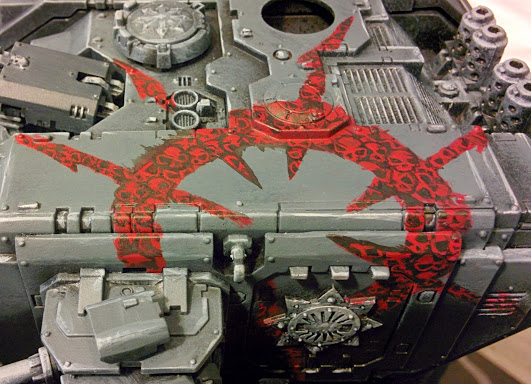
This next step should be very familiar to anyone else who is an underwhelming painter, like myself. I like my models to look better than I am actually capable of painting. I use a red glaze to make it look like I did a proficient job blending these colors (I didn’t). The glaze will tie all the colors together and reduce contrast between the steps, so it looks blended. Remember to use just a light glazing here, a heavy glazing will destroy all the detail you put into layering and highlighting. I use FW Crimson translucent ink for this, but bloodletter glaze would also work just fine.
Done
There you have it. If you decide to give this a try or have any questions please ping me on twitter @SwordsToPlow or send me a message to that same address at gmail. I hope you enjoy.
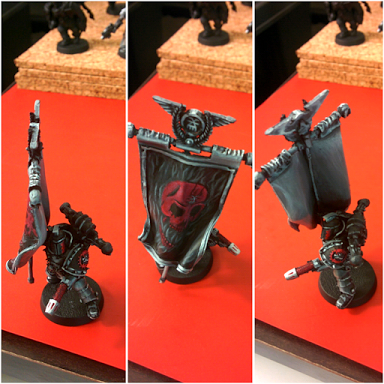
That is fantastic. I honestly didn’t realize they were skulls from the original photo. The look incredible! Really nice work, and thanks for writing the tutorial!
Thank you. Hopefully someday I can learn the skills required to be even a mediocre photographer of miniatures so I can show off what I’ve painted. 😛
I’ll be posting hobby tutorials on here regularly, so if you have any requests send me a message on Twitter @swordstoplow.
Thank you for reading and the feedback.