
I really like custom resin bases. Well, actually I really like nice custom bases. It’s just that resin bases have a whole bunch of issues. First, most sets of resin bases only have a few different designs, they tend to be short and the bottoms are flat, so they don’t sit on uneven surfaces well. So, I decided to make my own bases. I started with regular 65mm Citadel bases.
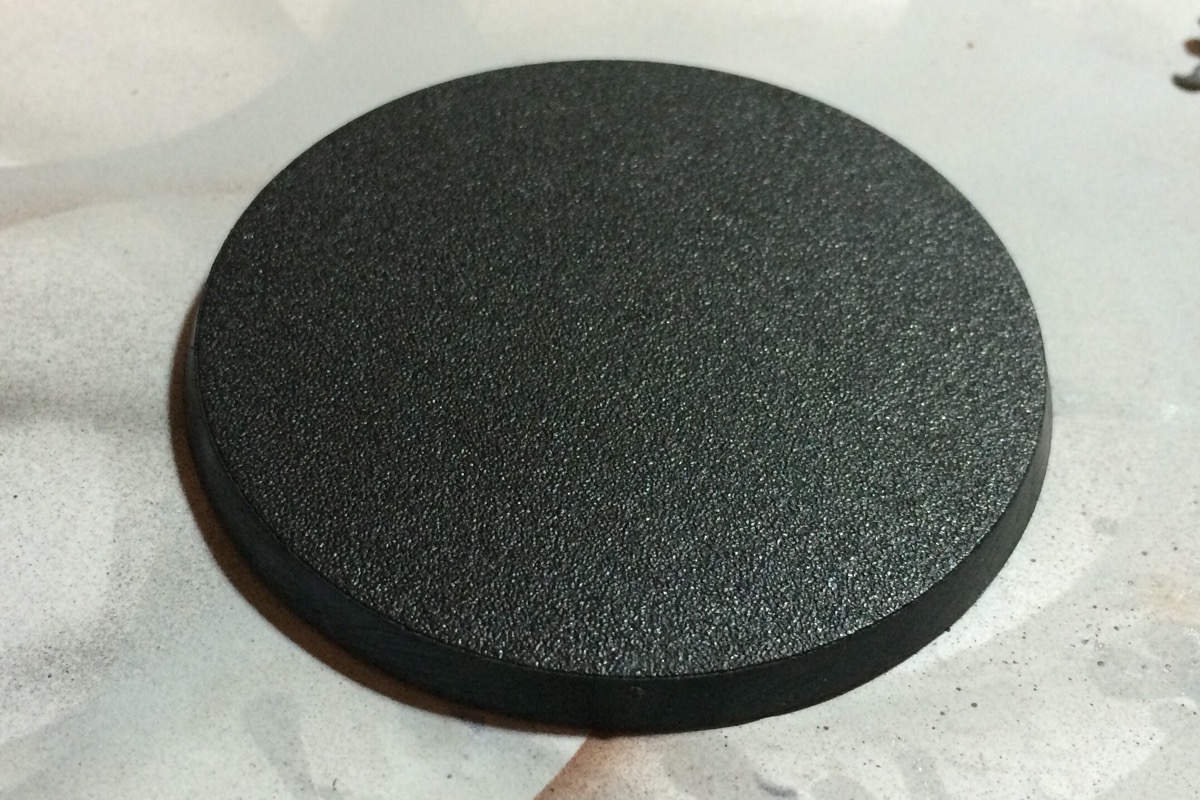
I recommend that you start by scoring the bases to provide something for the glue to adhere to. My friends have told me horror stories about what happens when you just rely on PVA glue against plastic bases. So, rather than chancing it, I think scoring that bases will provide a mechanical connection for the glue to bond to.

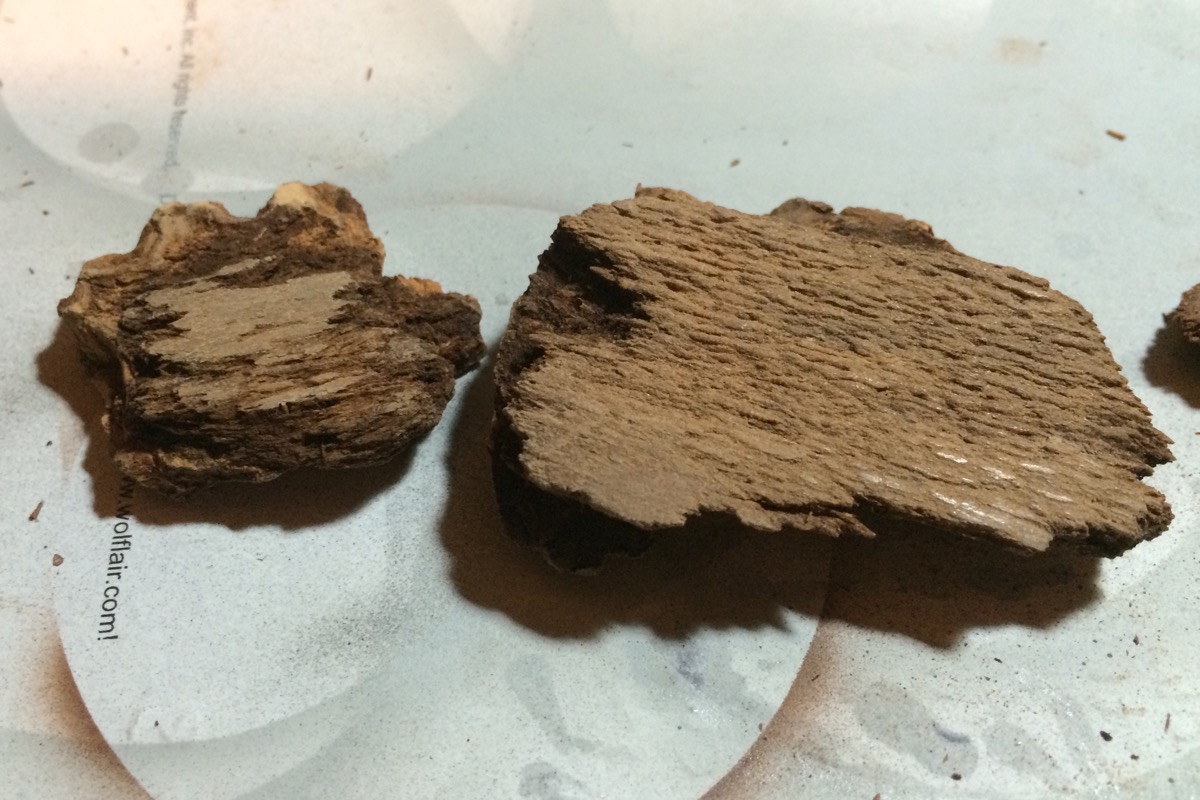
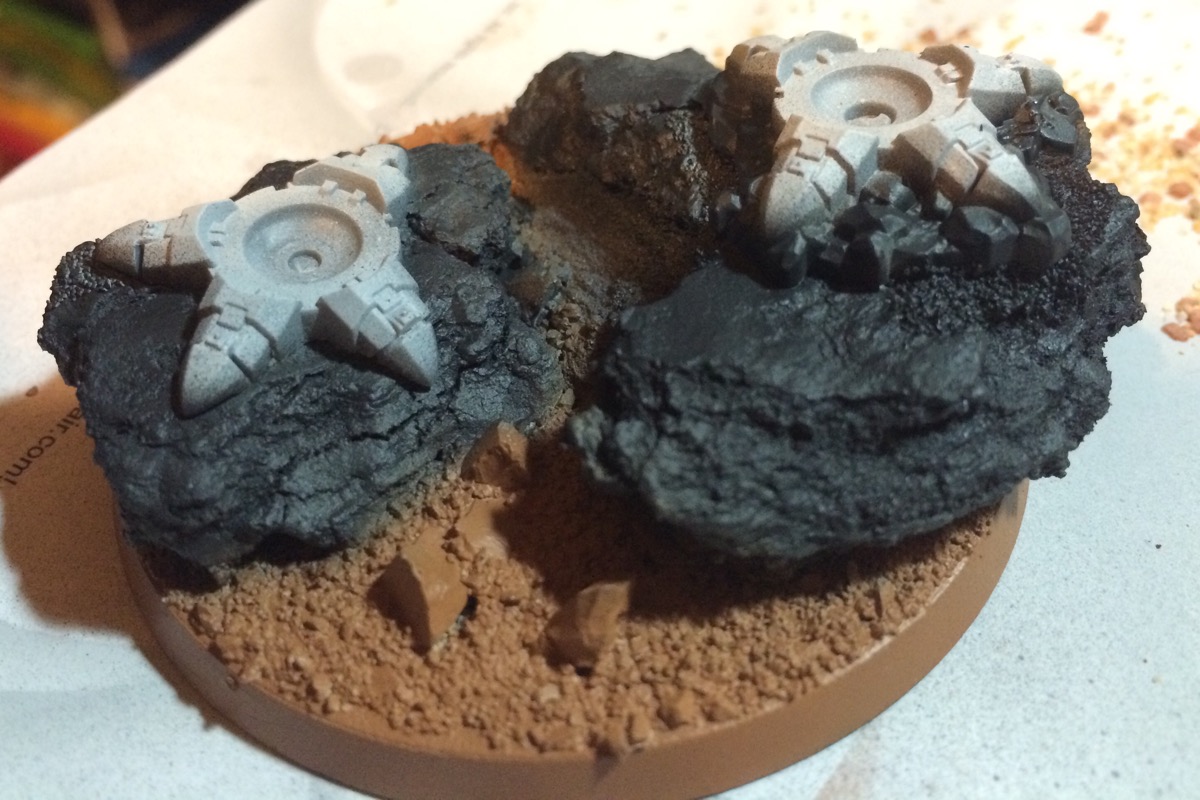
I purchased a large bag of bark from the local home improvement center. I found bark nuggets. They look more like rocks to me than the strip bark.
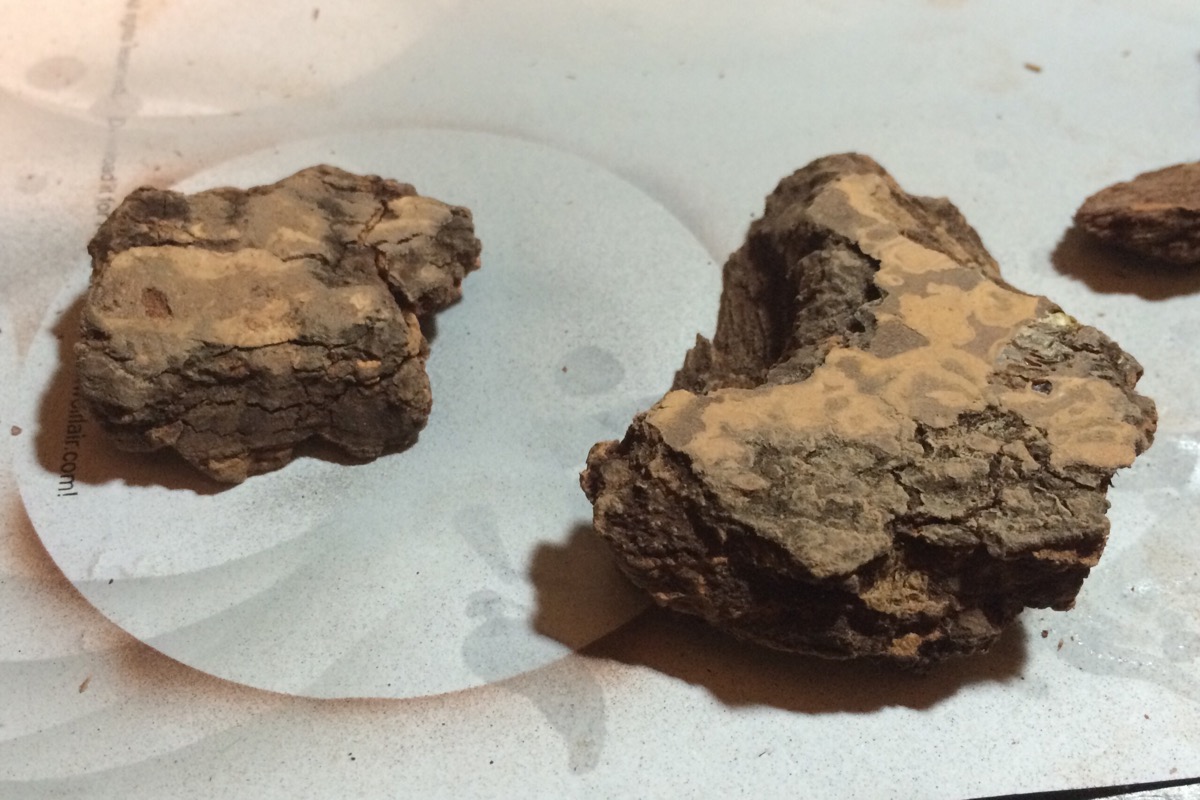
I sanded the bottom flat so that the nuggets would sit on the bases with maximum contact.
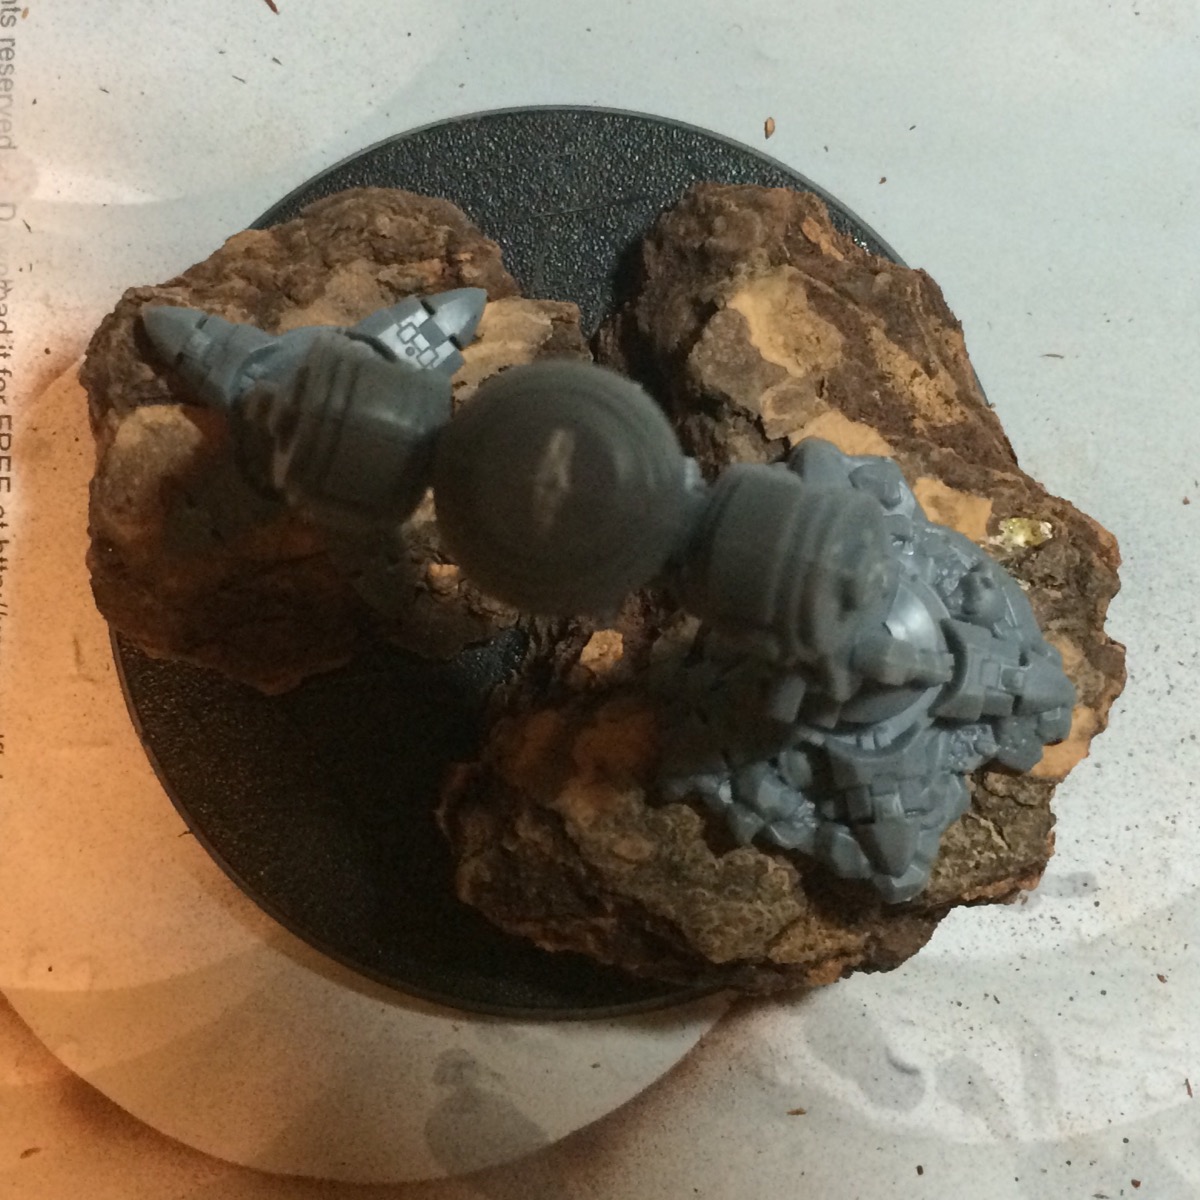
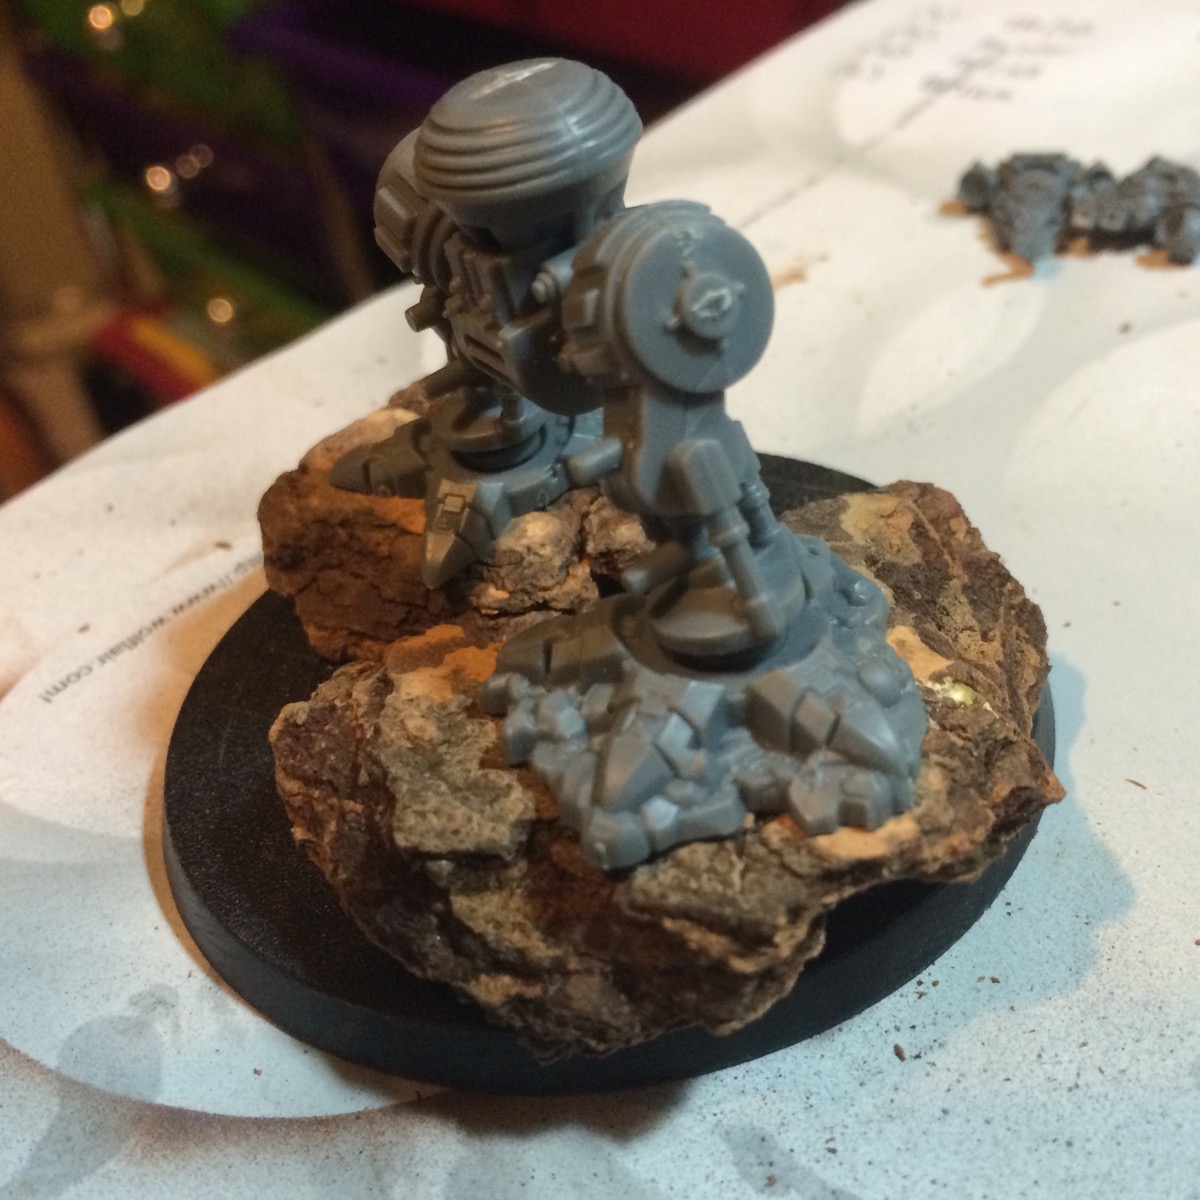
Next, I glued the bark to the base using super glue, and quickly placed the model on the “rocks” to ensure that I would get a pose that worked for the model.
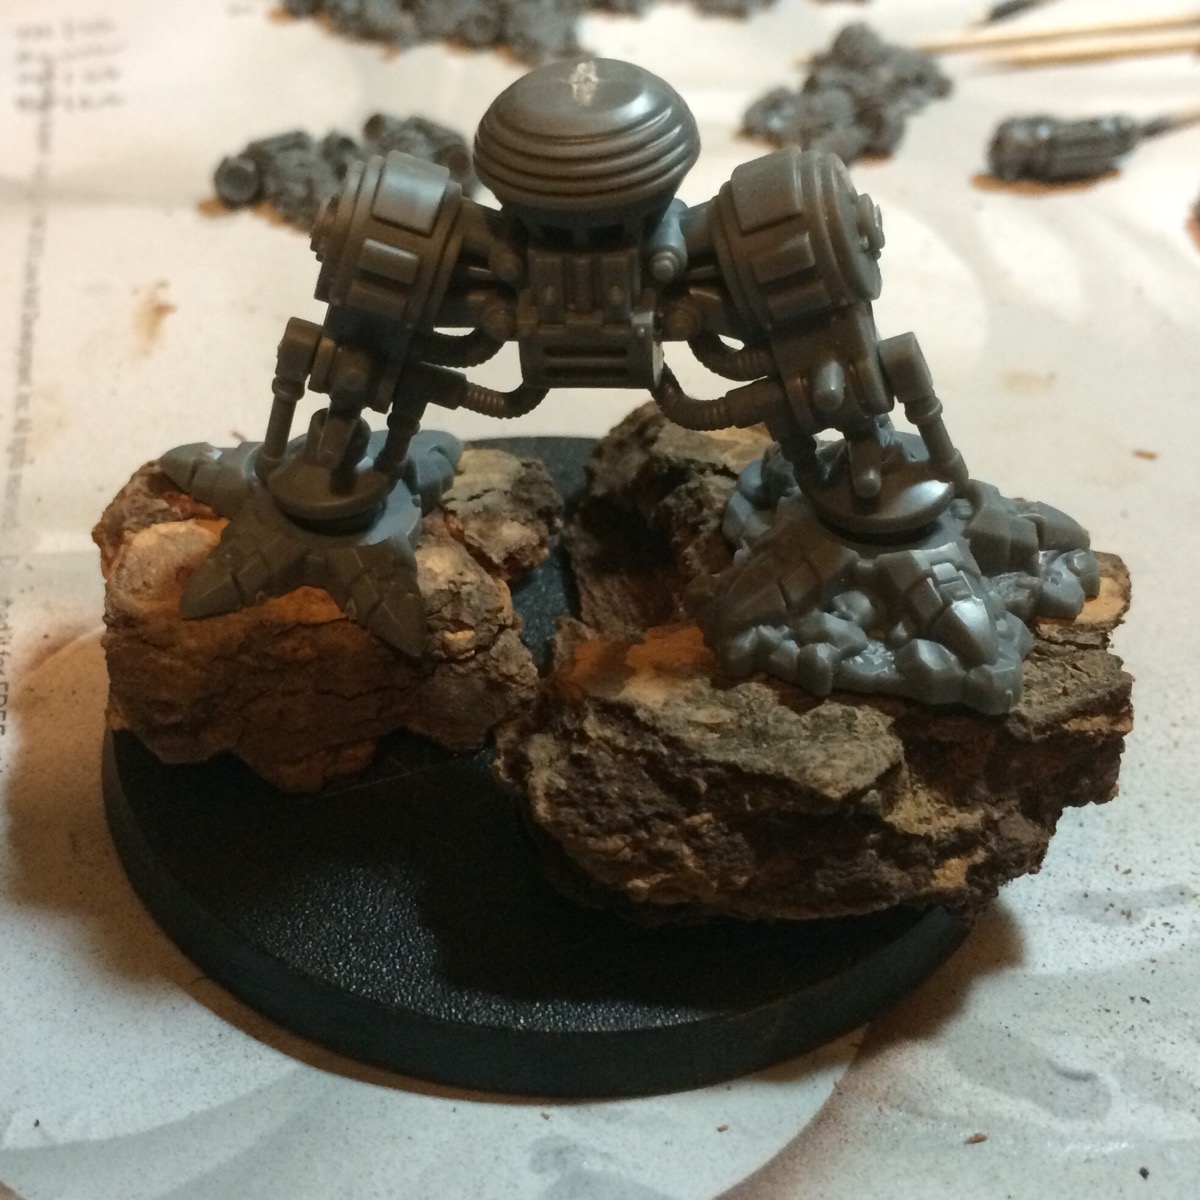
Staging the model is important. Make sure you know how the model will ultimately go onto the base if you can. For a single model, like a dreadnought, this is easy. If you’re doing 22 Thunderwolves (like I just did) then you may have to deal with fitment at a later time. Here I made sure that the legs were generally centered on the base.
Once the large bits are glued down using super glue, I coat the base in PVA glue. I’m using the Citadel brand only because I still have some left after about 4 years of using it. White Elmer’s brand glue works too. I would personally suggest going heavy over going light. You’re going to paint the final product and it will dry. With the PVA glue down on the base, use a dedicated brush to get a somewhat even coat of glue. Then add larger rocks or rubble, followed by some medium sized rocks.
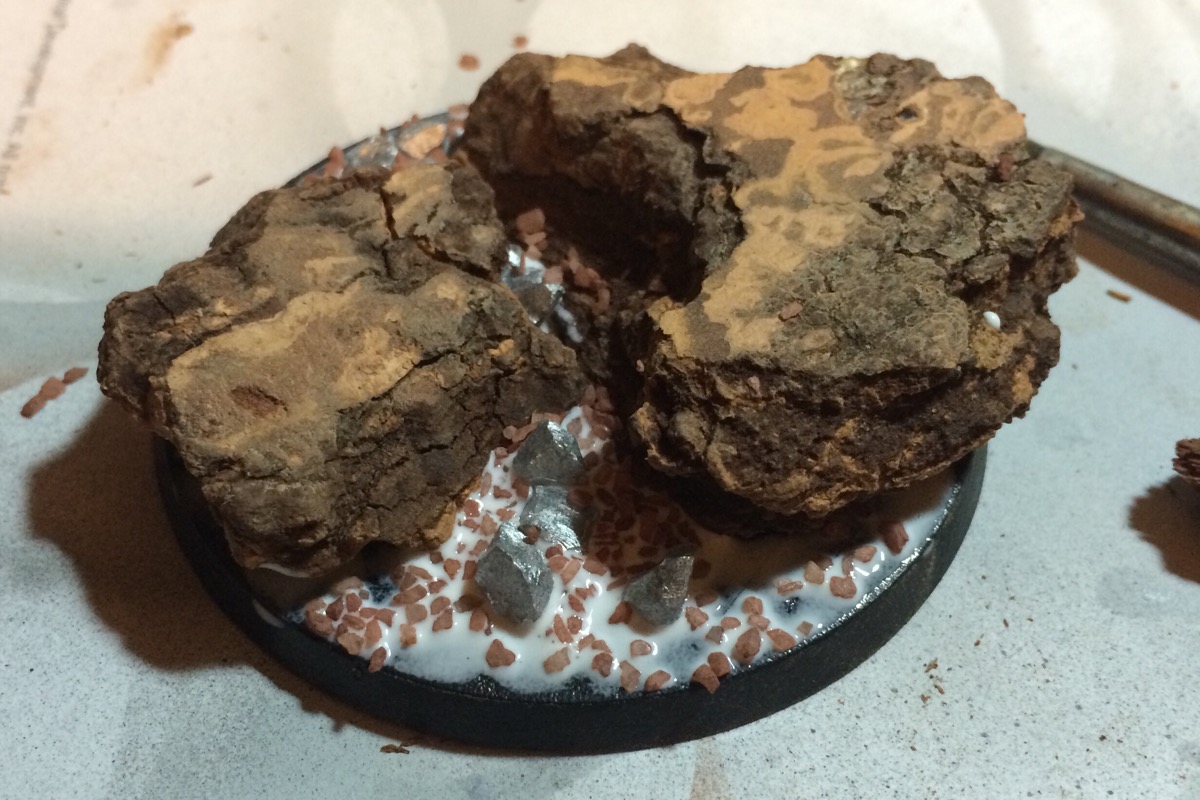
Once you have the base substrate laid down, add small rubble and sand to the mix to get a natural mixture of textures. If you start small, the larger bits will always look like additions. if you start large, the smaller bits will fill in the gaps.
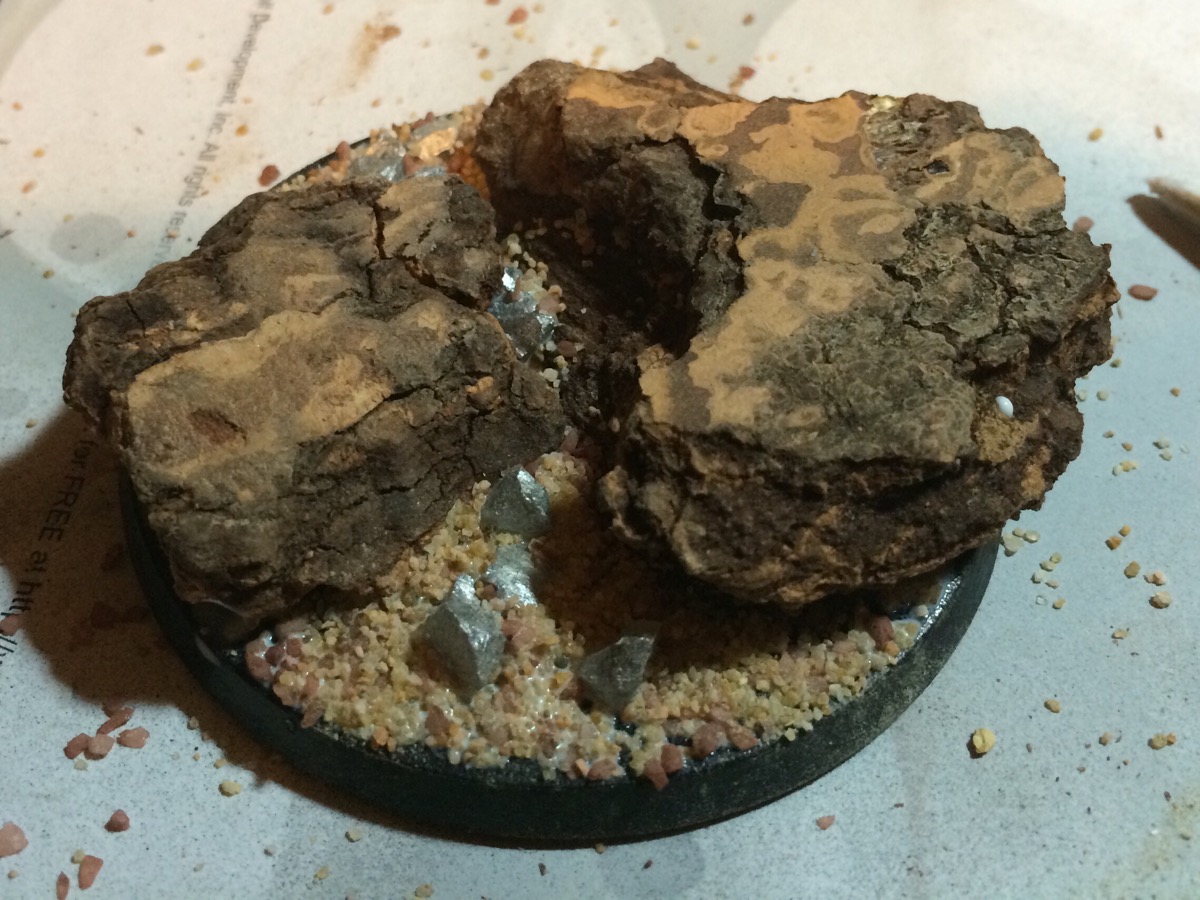
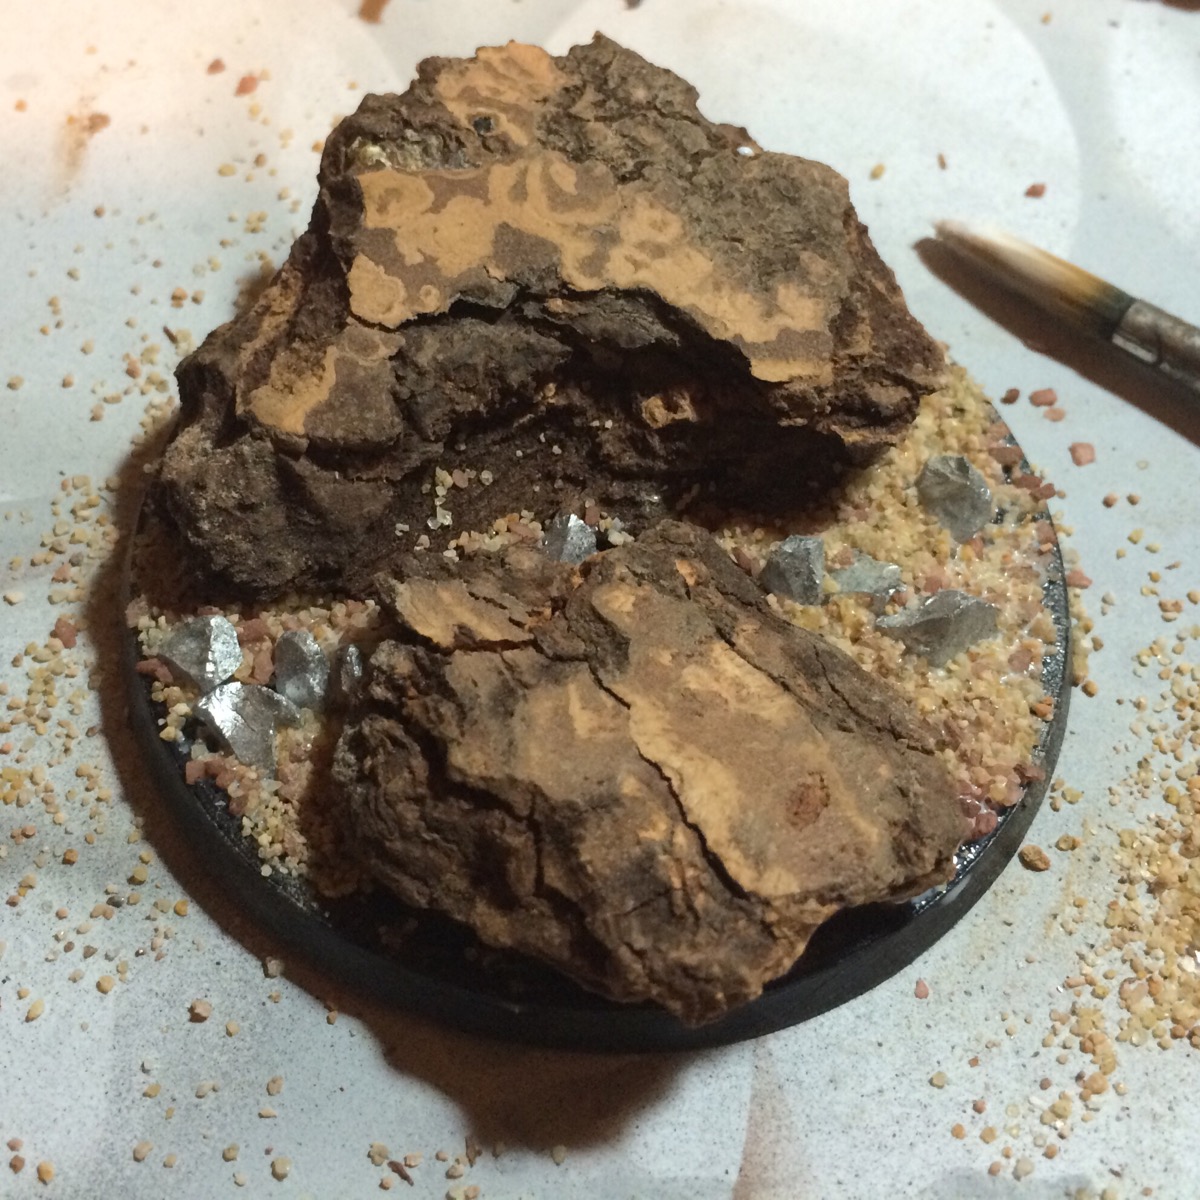
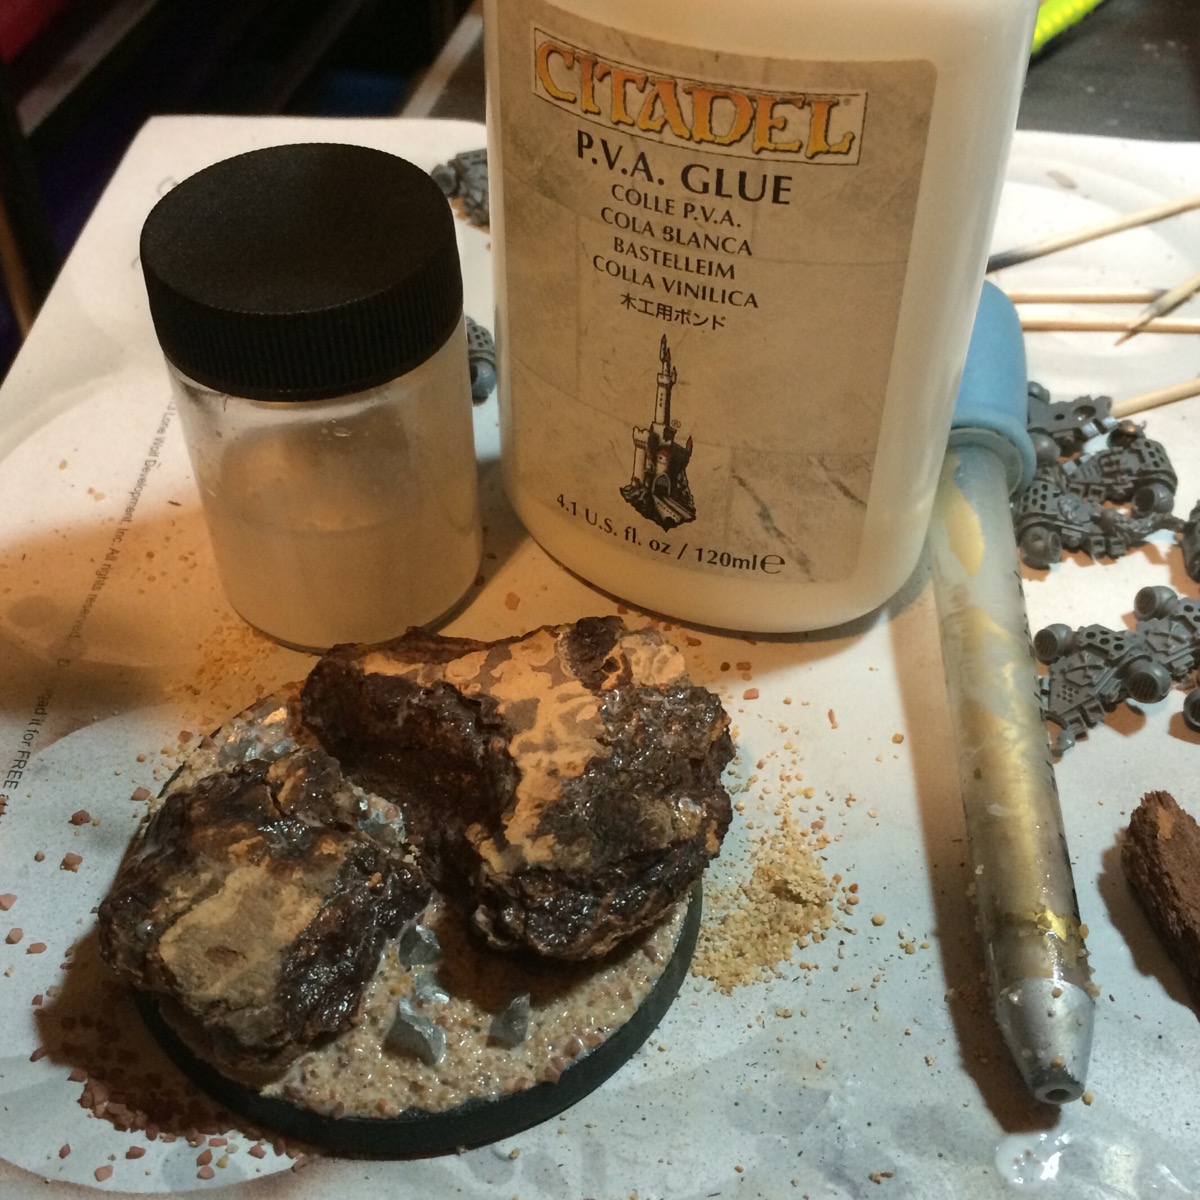
Finally, get a small container that you can seal up. Add some PVA glue to the bottom and then add water. You want a pourable mixture that flows easily. I’d recommend 1:2 glue to water, but you can add even more water if your rock mixture is very dense. I use a large medicine dropper to apply, but you can also use a large brush. Coat the sand in watered down PVA glue to form a coating that will hold the sand to the base. I also add the watered-down PVA to the more porous parts of the “rock” or bark.
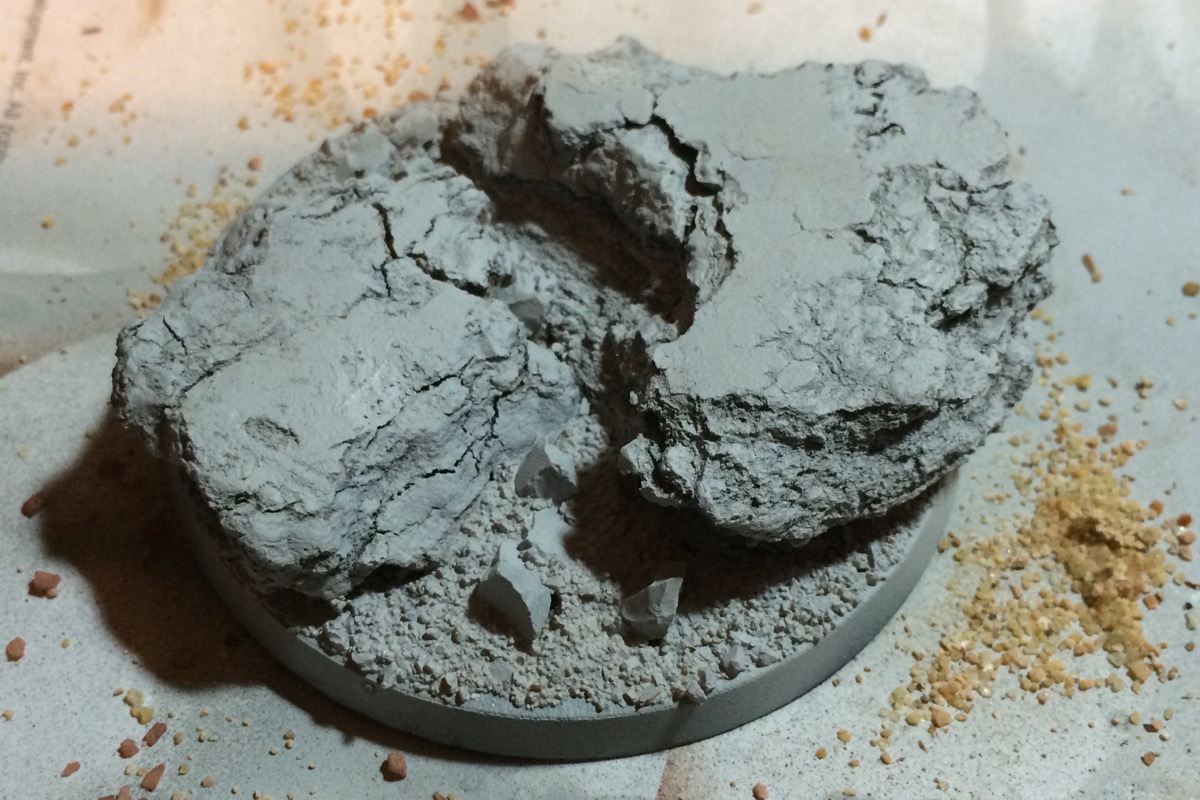
Prime Grey. I used Vallejo airbrush primer for priming bases. I’m not horribly concerned about using an enamel primer on bases. The natural materials will chip no mater what you do. I’d recommend applying lots of varnish once you’re done with the base.

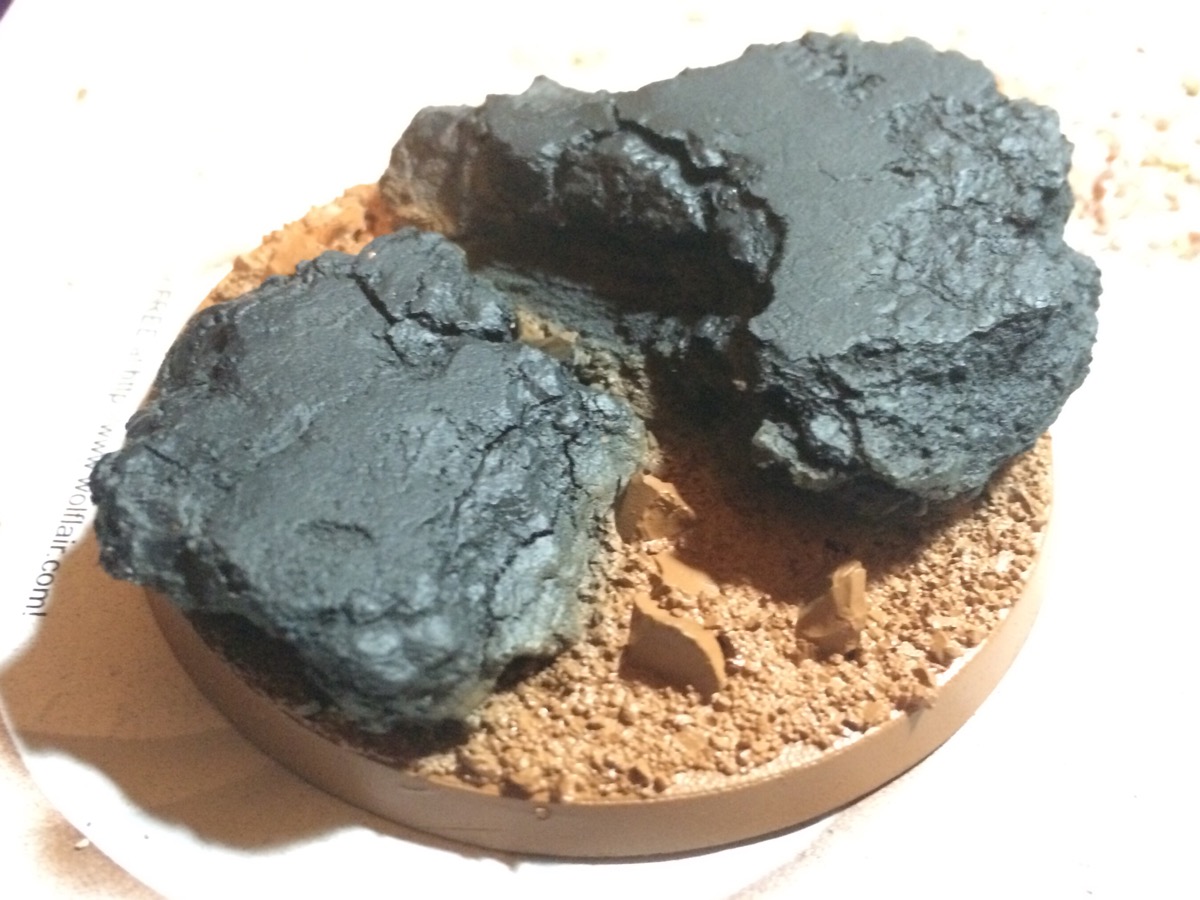
Airbrush the large rocks with German Panzer Grey primer and paint the base “sand and rocks” with Mud Brown.
I did another test fit of the feet for my walker. It turned out that I had to cut one of the toes off and reattach it at an angle to contour to the rock. These are the sorts of modifications you may be able to avoid with careful planning. In this case I knew I was going to have to customize the model to fit the rocks. I adhered the feet to the rocks with super glue, carefully testing the legs while attaching the feet. I will likely go back later and pin the legs of the walkers, through the feet, through the bark and under the base. I also added some more PVA and fine debri around the feed to blend them into the base.
I’ll come back for part 2 once I make a bit more progress. However, if you’re following along at home, what I’ll be doing is:
- Dry brush the rocks with Spacewolf Grey
- Wash the base with watered down Camo Grey Brown and Burnt Umber (3:5). Blend the wash into the bases of the large rocks.
- Highlight the dirt with a drybrush of P3 Rucksack Tan
- Apply Satin Varnish
This gets me to “table top.” Part 3 may be a bit longer to complete, but will add woodland scenics grasses and GF9 snow to the base. I’ll add these upgrades once the models are in place and painted. You can see how I use the GF9 snow on my snow basing tutorial here. The rune priest in that tutorial already had built in rocky basing, and it was almost all covered in snow.
I love basing articles. Bases are one of the things you can really have nearly unlimited freedom with. Sometimes we get a bit hesitant to try things on a mini…but bases are cheap, and so are basing materials. GO to town!
I am a big fan of resin bases for quick work, but it is really important (I believe) to be able to make your own bases from scratch if you want to compete in any type of competition. I lost points immediately for having one of my pieces on a resin base… if your competition made their own, they’ll pop to the next round and you’ll be eliminated!
Thanks for the tutorial. Love those bark bits!
Thanks. Basing is one of those things that can be done simply and really make models stand out. I find that on armies complicated bases are not needed, save for a special character here or there. Yeah, this particular bark does a good job of looking like craggy rock IMHO.
Did you ever do a part 2? I can’t find it.