
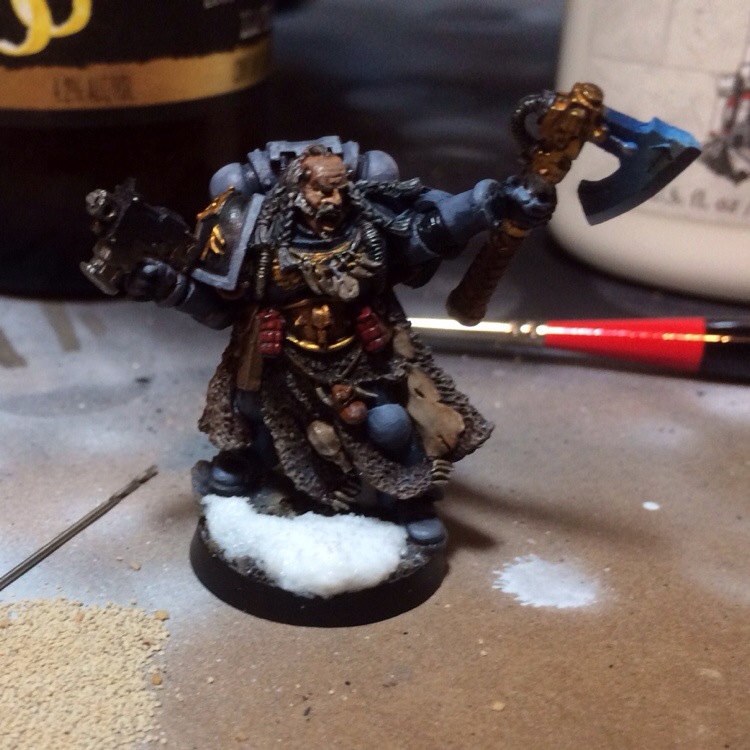
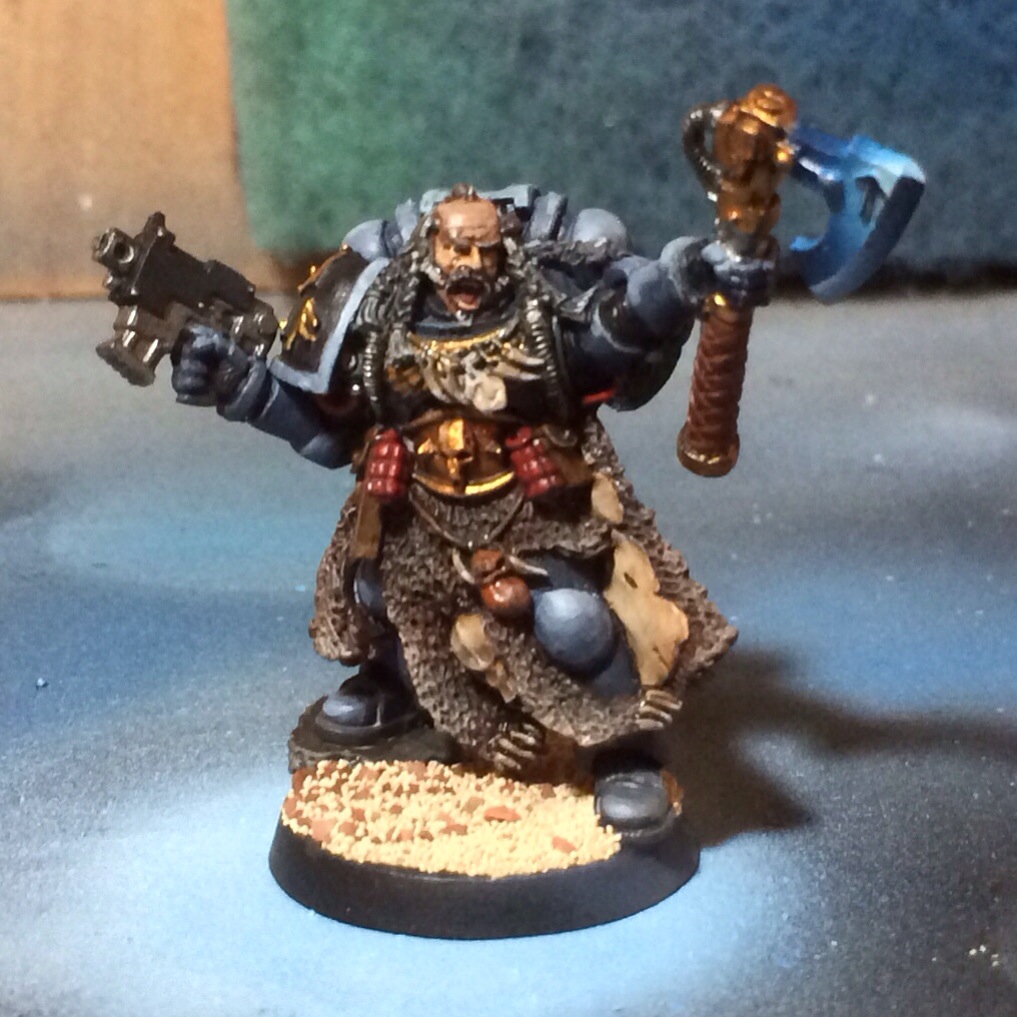
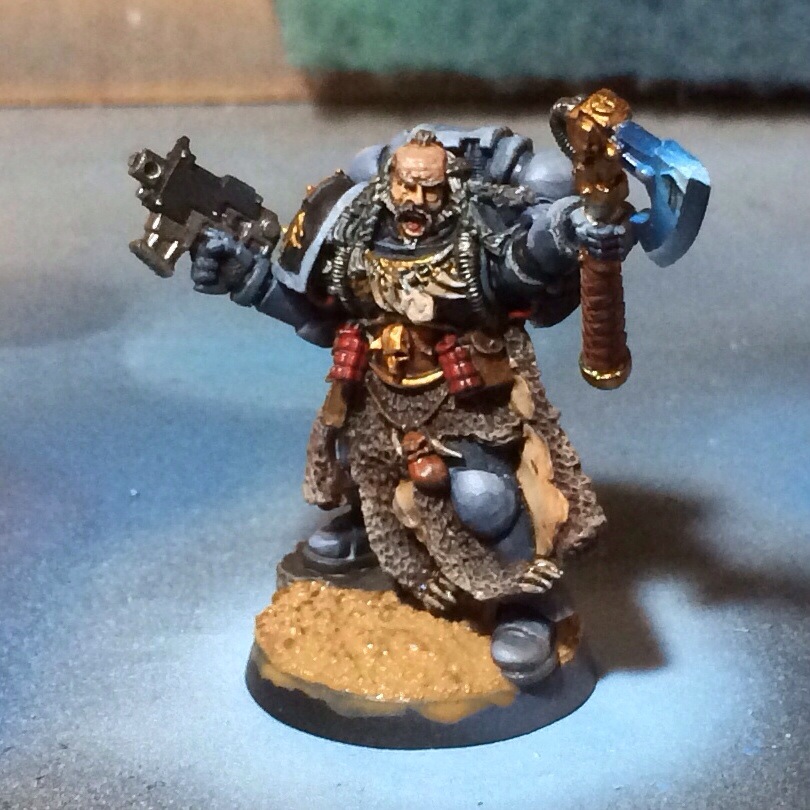
I just finished a model for a local painting competition this weekend. A face-off of grand design, or least of models in power armor. While there will be plenty of other good entiries, I’m sure, Stephen and I have a side bet running between his Dark Angels Librarian and my Space Wolves Rune Priest. Finishing touches on the model for me included adding snow on the basing.
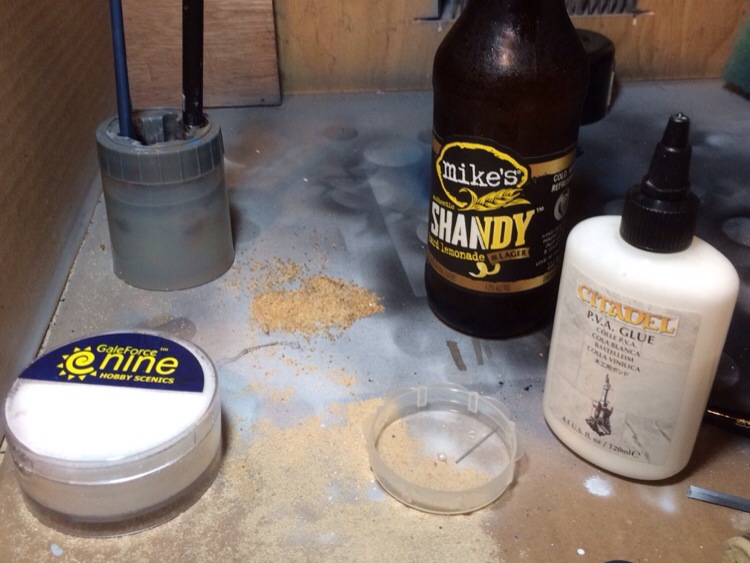
At my disposal I had both GF9 and Citadel snow products. I had never used either, so I opened the containers to take a look at the contents. To my untrained eye, I liked what I saw in the GF9 container. The Citadel contents looked like short, white static grass, while the GF9 product looked more like snow. I opted to go with the GF9 snow.
A quick search on google suggested that I mix the GF9 snow with PVA (white) glue and a little water and finish up with a light dusting of more snow for a “fluffy” look and no final dusting for an “icy” look.
First up, I needed to create the base texture to go under my snow, since I was not planning on basing the entire model with snow. If you’re going to lay down an even covering of snow everywhere, then you may simply want to consider building up the shape using some filler, or you can proceed with a flat base and form the snow instead.
I used a mixture of small rock I picked up last year at Michaels (the red product) and Woodland Scenic Fine Ballast. I started by applying PVA to the whole base but only dipping the right side of the base in fine ballast, followed by application of the larger rock to the rest of the base and then a sprinkling of fine ballast over the red rock to blend the two together.
Over this I laid down a watery PVA mixture to trap the loose ballast. Once dried I applied a very watery base coat of paint, followed by a thicker base coat of paint.
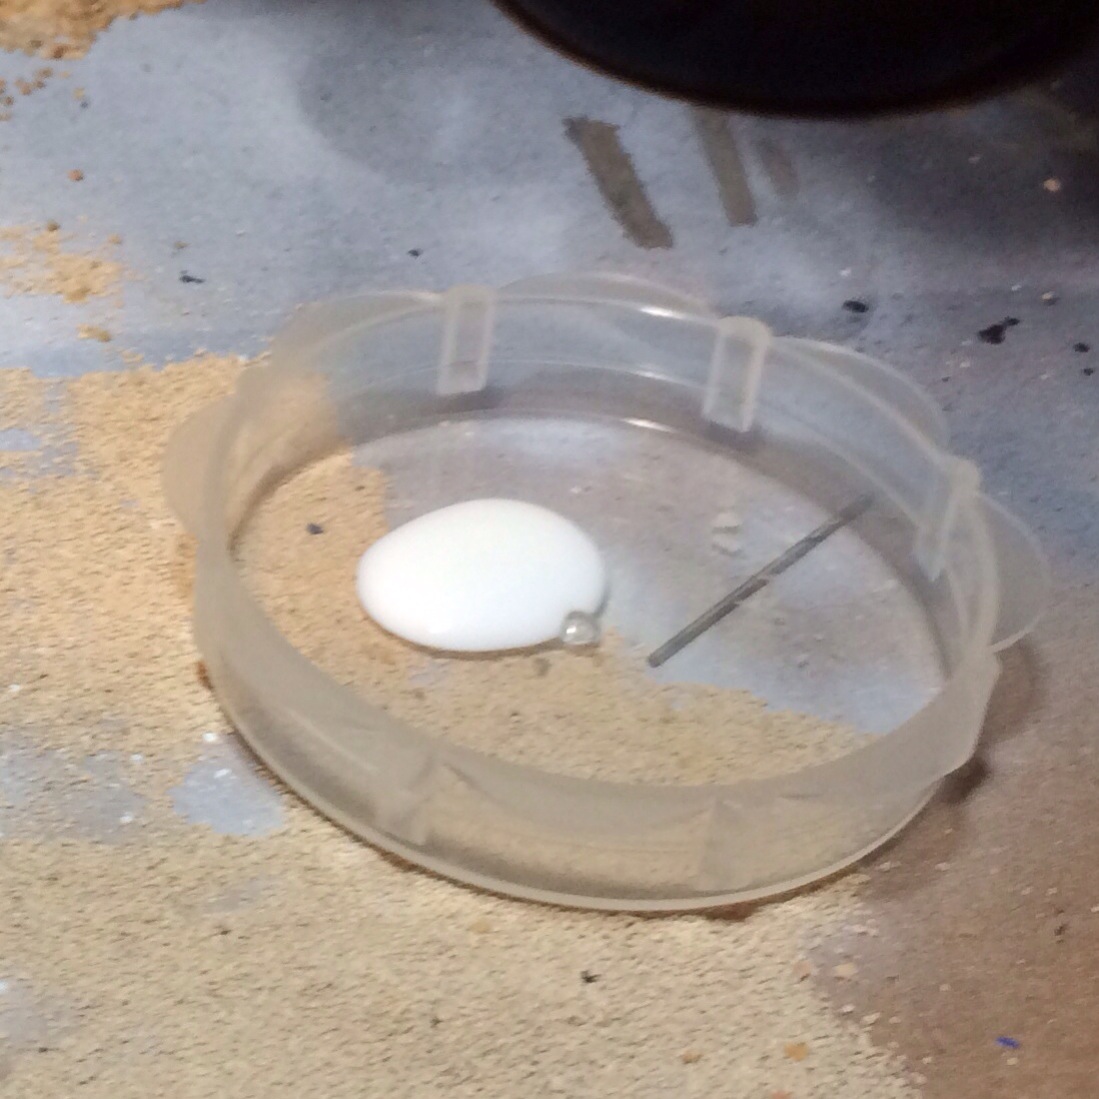
For those of legal drinking age I highly suggest a frosty beverage while working on painting or modeling. I find that one drink steadies my painting hand. Here you can see the GF9 snow, a small mixing container and some PVA glue (I’m told Elmer’s white glue works just the same).
Place a small amount of PVA glue in your mixing container, roughly half the size of your base.
Then add snow until you get a slightly wet look, but firm enough that it retains it shape when applied. I liked the flat end scultping tool for this, as it allows you to easily smooth out the finish when applied.
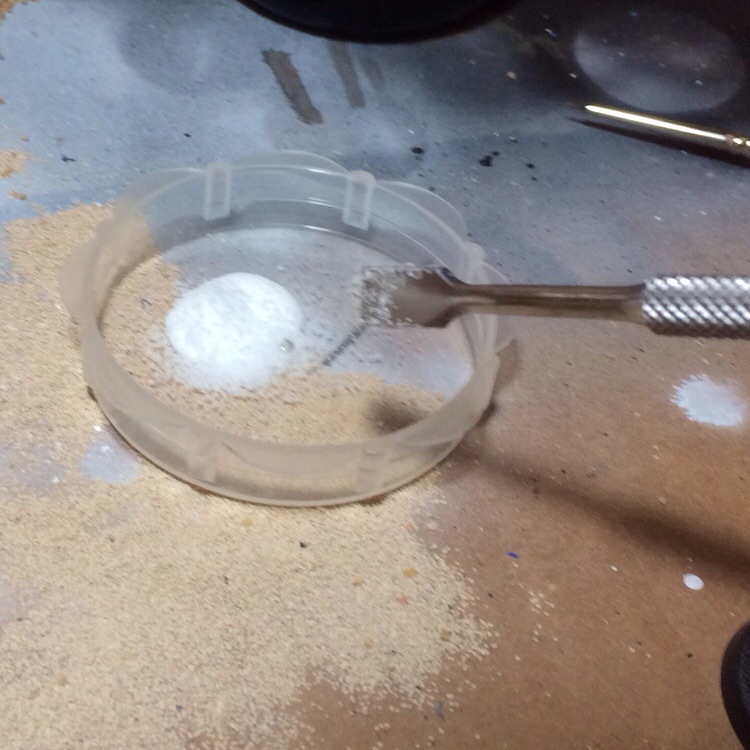
This looks wet, but when you sculpt it retains is shape.
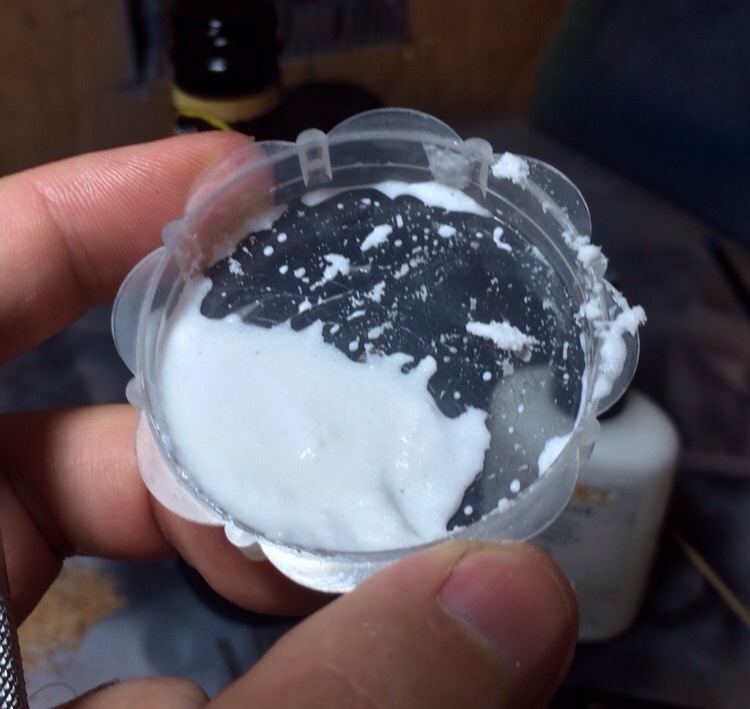
What I did here was to glob some on the base and use the tool to sculpt it into place. It holds its shape suprisily well. Once I had it where I wanted it I added some more snow on top of the application to dust it off with a drier, “fluffy” look.
This looked really nice and dry, like fresh powder, and I was concerned it might look too fresh. When I applied Testor’s Dull Coat over the top it brought the finish back halfway between the wet, icy look and the fresh snow look. Perfect for what I was trying to achieve.
Pingback: Rocky Mountain Bases (part 1) | League of Underwhelming Miniature Painters