
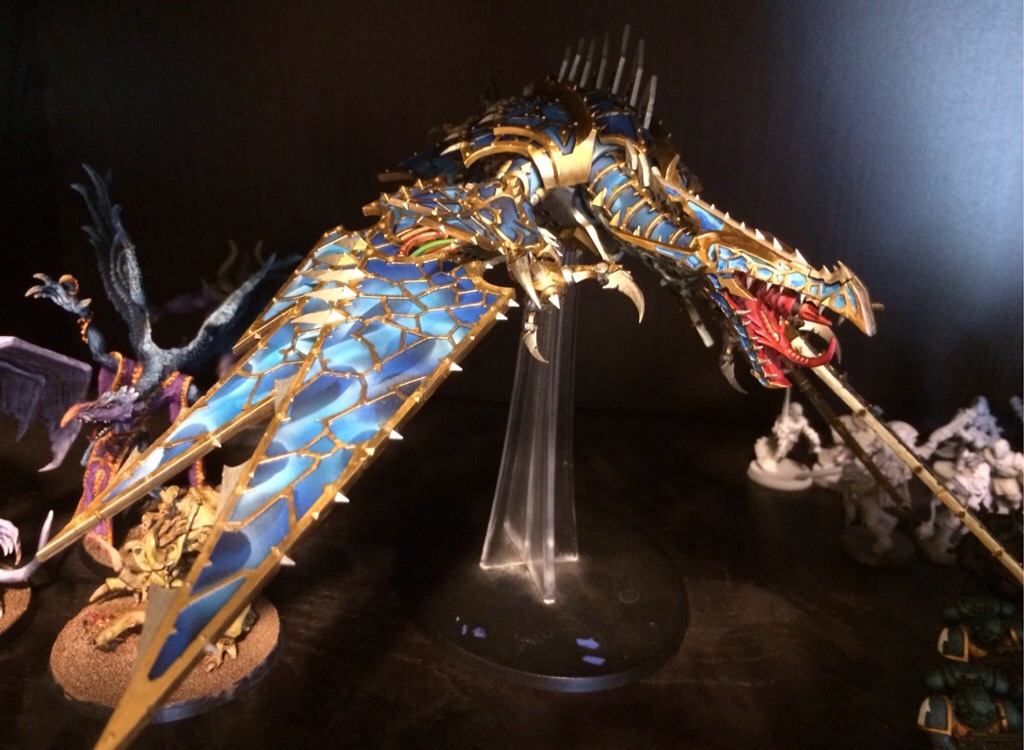
I’ve been sitting on a Heldrake since not long after the Chaos Space Marine codex was released earlier this year. Regardless of the model’s rules I find it to be a very cool model. However, the slightly overpowered nature of the rules kept me from painting it as I hate to be seen as a band-wagon jumper. I’d rather be a post-hipster playing models that used to be cool but are not any longer… 😉
The various parts for this model sat in pieces staring at me for a few months before I decided to get to it. Based upon my painting goals I decided to prime black and work up from there. I was inspired by a tutorial on YouTube by BuyPainted. I basically copied his technique, but changed out the colors.
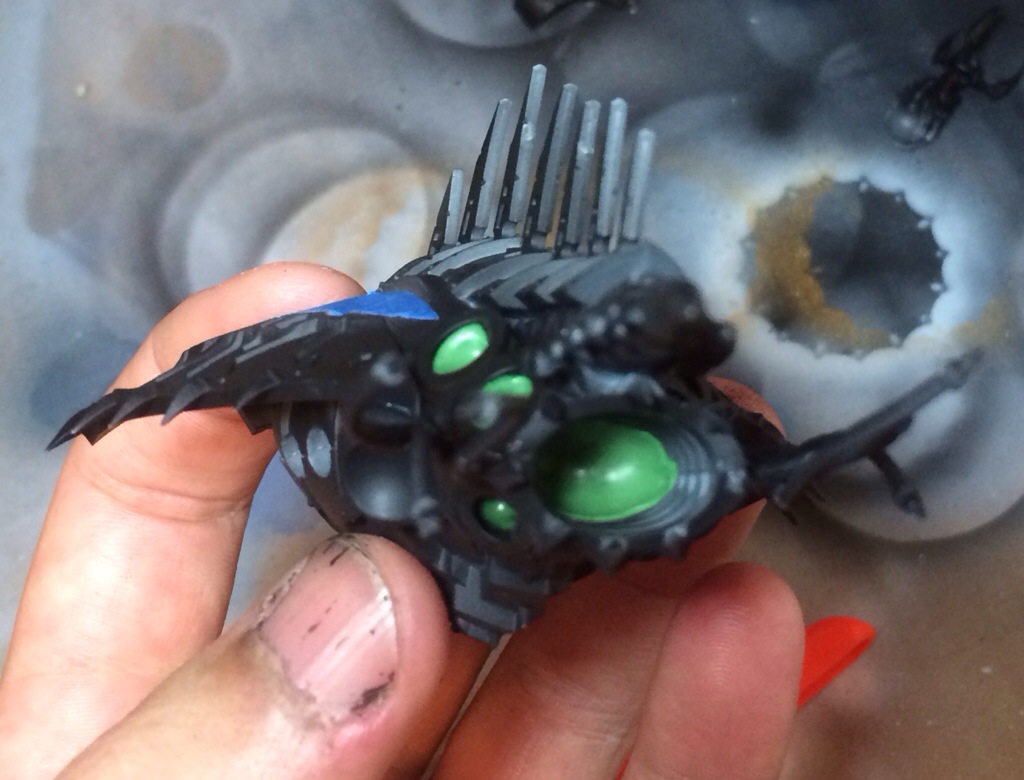
1. Tape off any areas that would eventually get plastic cemented together before priming. I used regular blue painters tape.
2. Prime black – I chose to use Vallejo Air Primer
3. Base coat with a mix of Chaos Black and Regal Blue (1:1). For this model, all of my paints were diluted about 30% with Liquitex Airbrush medium.
4. I did not assemble all of the parts prior to painting. There were a couple of pieces that I needed to modify. I used greenstuff inside the body to “plug” the rear exhaust holes. I also magnetized the head to allow for the gun to be swapped out.
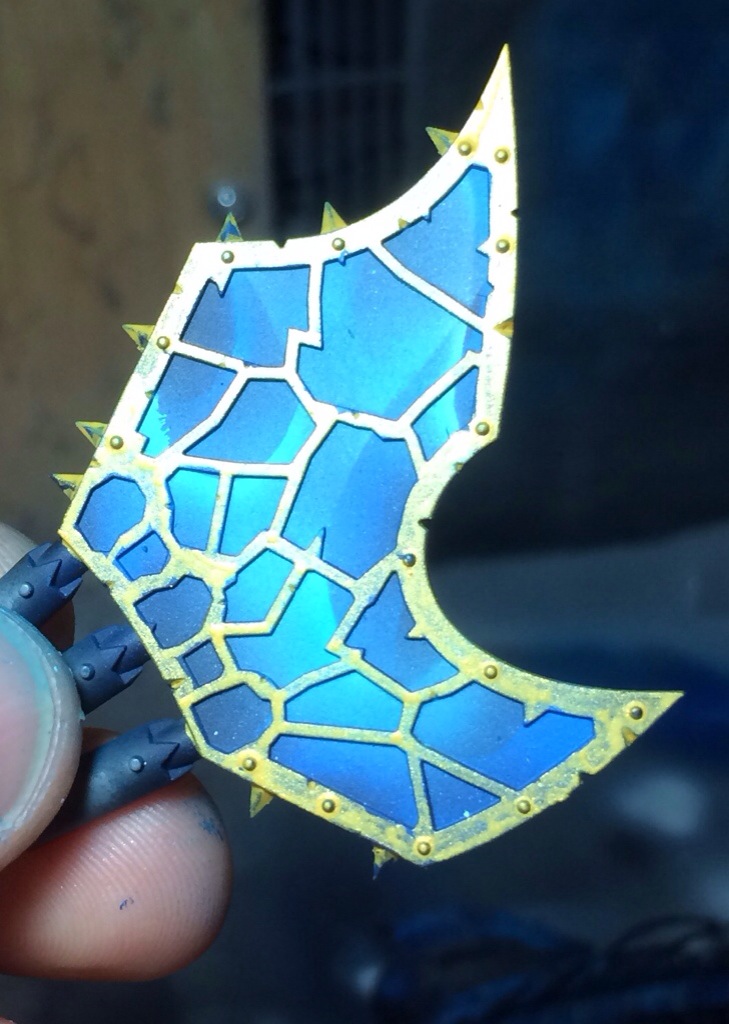
5. Using the flower pedal shaped template I created the initial flame outline using Pale Grey Blue (VMA 71046).
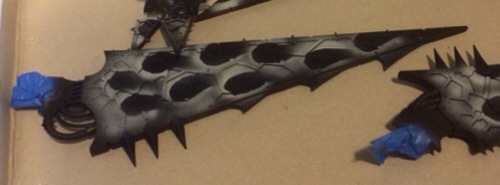
6. Then I used White (VMA 71001) to highlight the tips of the flames. This would make the glaze I applied next brighter and lighter in these areas.

7. I then sprayed Blue (VMA 71004) over the whole wing (or other part). I did not try to cover everything evenly. I focused on the flames, but allowed the paint to cover other areas as well.

8. Over the top of those flames I used the templates to apply another layer of flames using just White this time.
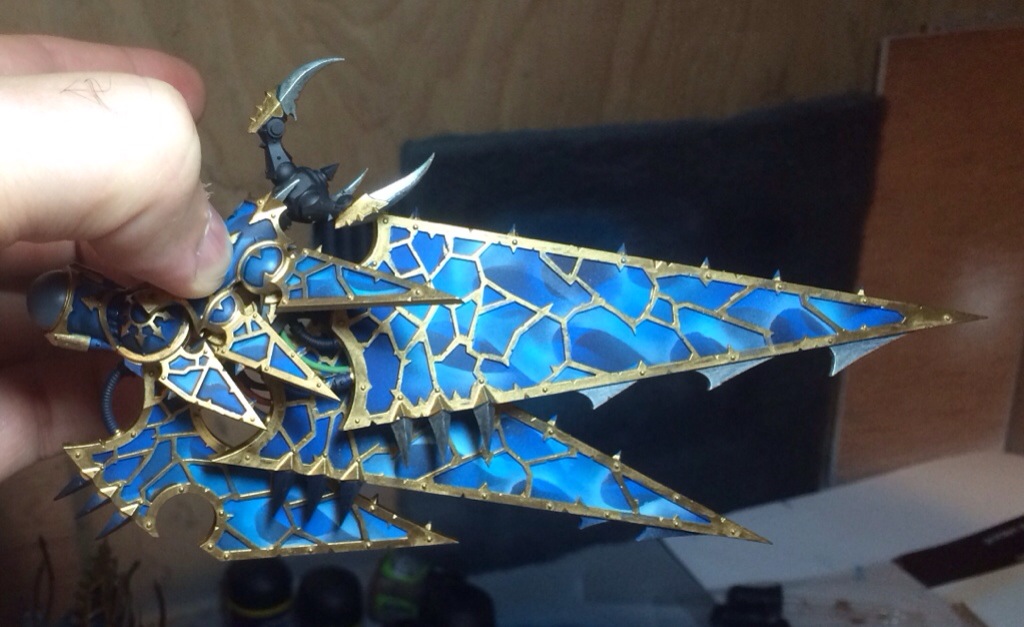
9. I repeated the glazing process using Light Sea Blue (VMA 71089), focusing on the flames, but not really worried about over spray.
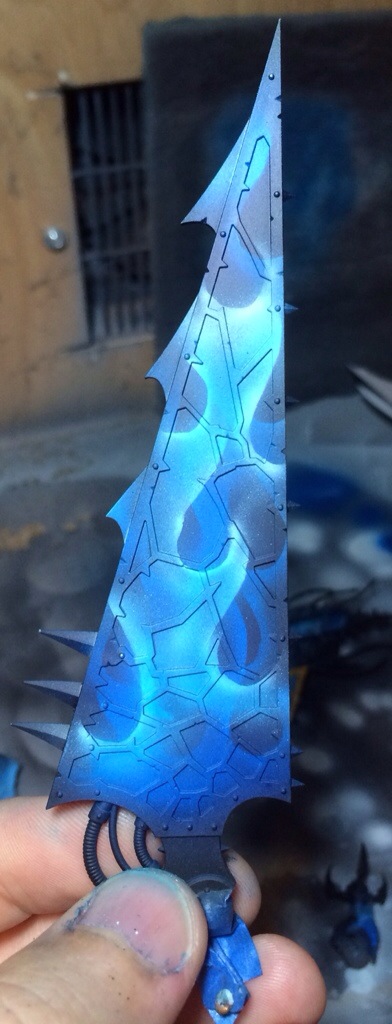
10. I thought about a third set of flames, like was shown in the BuyPainted tutorial, but didn’t want the model to be any more busy than it already was, so instead I applied a mixture of Blue and Blue RLM65 (VMA 71008) (2:1) to the wings (and other parts) in such a way as to add color without coating the entire piece. This added just enough depth to the color that I liked the result.
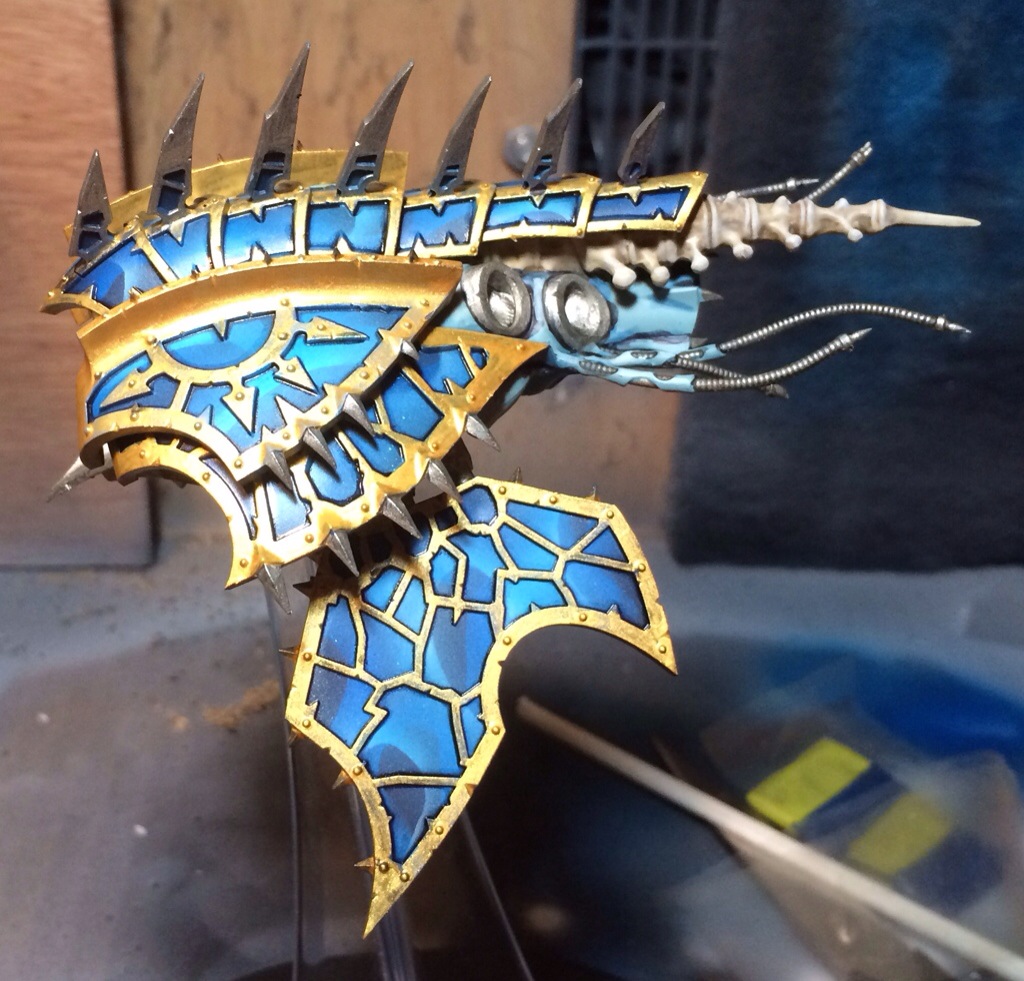
11. Next I tried some Citadel gold paint on the borders. I found that I did not care for the ability of an acrylic paint to cover the model in a single application, so I decided to buy and try some Vallejo alcohol-based metallics (described in another post).
12. You can see that the Vallejo Liquid Gold is much smoother in this next picture.
13. I also used a Vallejo Liquid for the copper cables below.

14. I learned a bit about magnetizing a multi-part model when tackling the head. There is a bit of a gap at the peak of the head that aligning the magnets differently will solve on a future model.

15. Next up, to finish some details and the base.