

Some models really shine when they have unique, custom bases. Today’s tutorial comes to us from a new writer, Anthony Adamo. Anthony is also from Northern California, just about 2 hours from the home base of LUMP. Please let him know that you like his tutorial and he might just write some more. You can find out more about Anthony, and the rest of the writers on our About Page here.
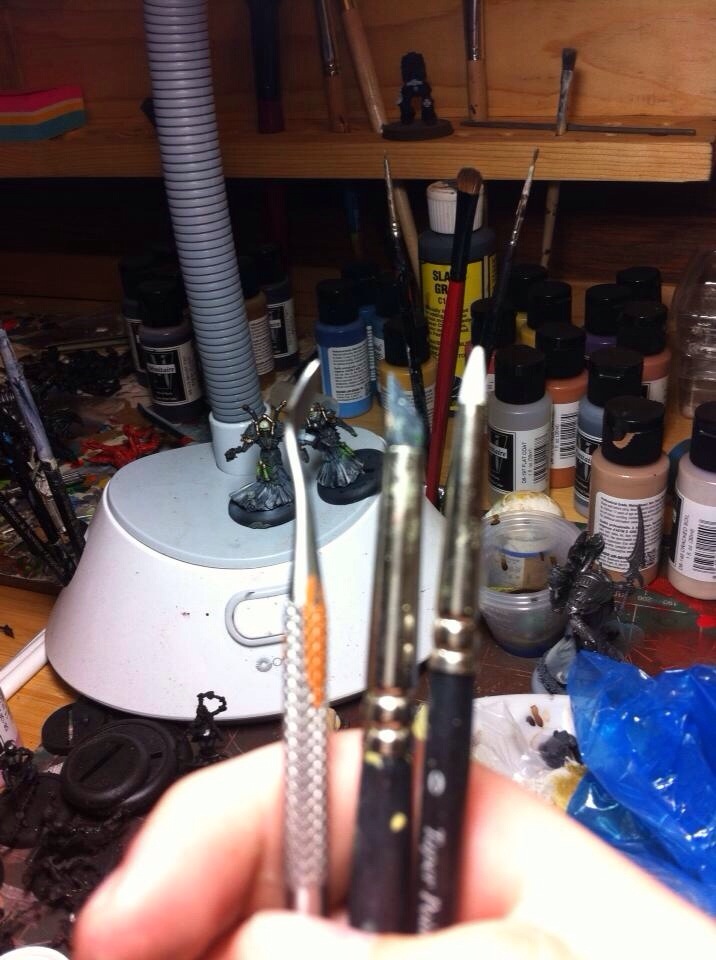
Tools you will need:
- Rubber (colour) Shapers
- Hobby Saw
- Pick Tool
Supplies (all purchasable at Michaels):
- Gray Stuff
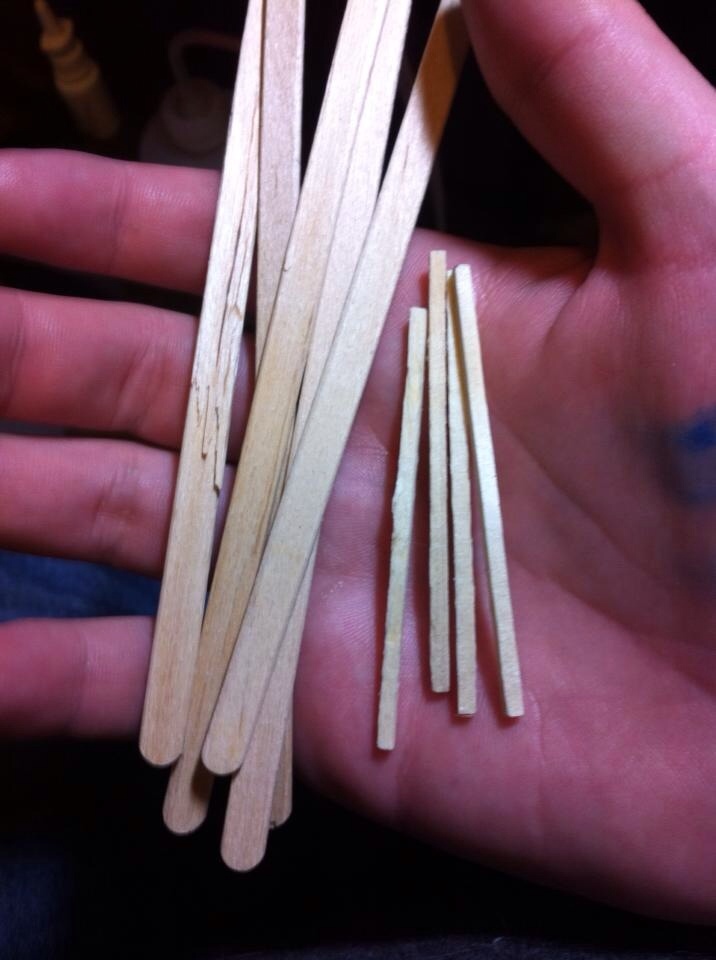
- Popsicle Sticks
- Wood Dowels
- Match Sticks
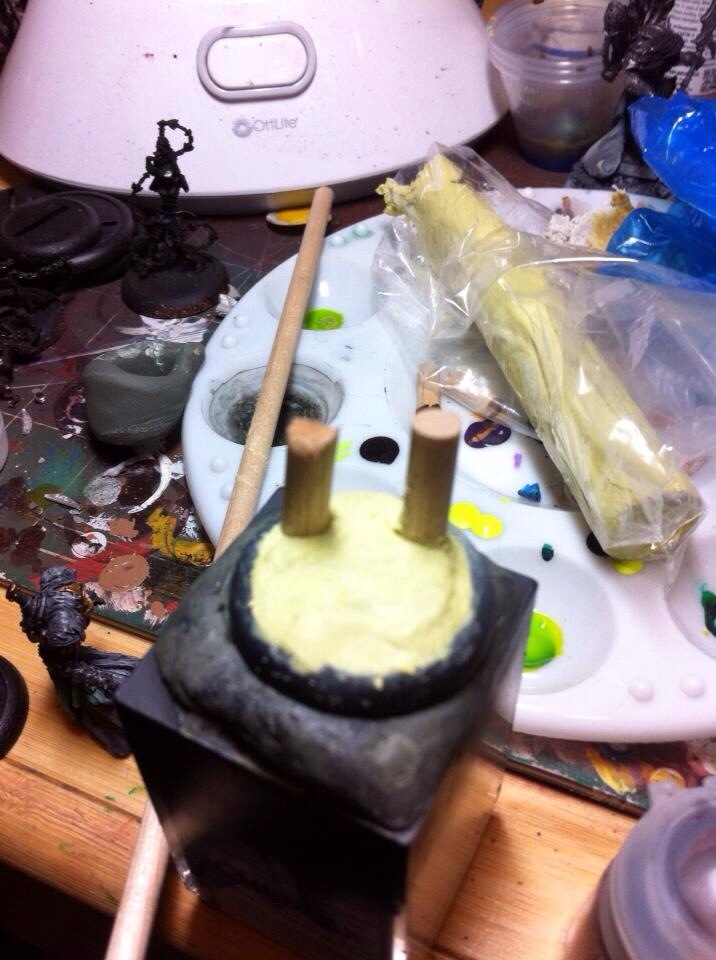
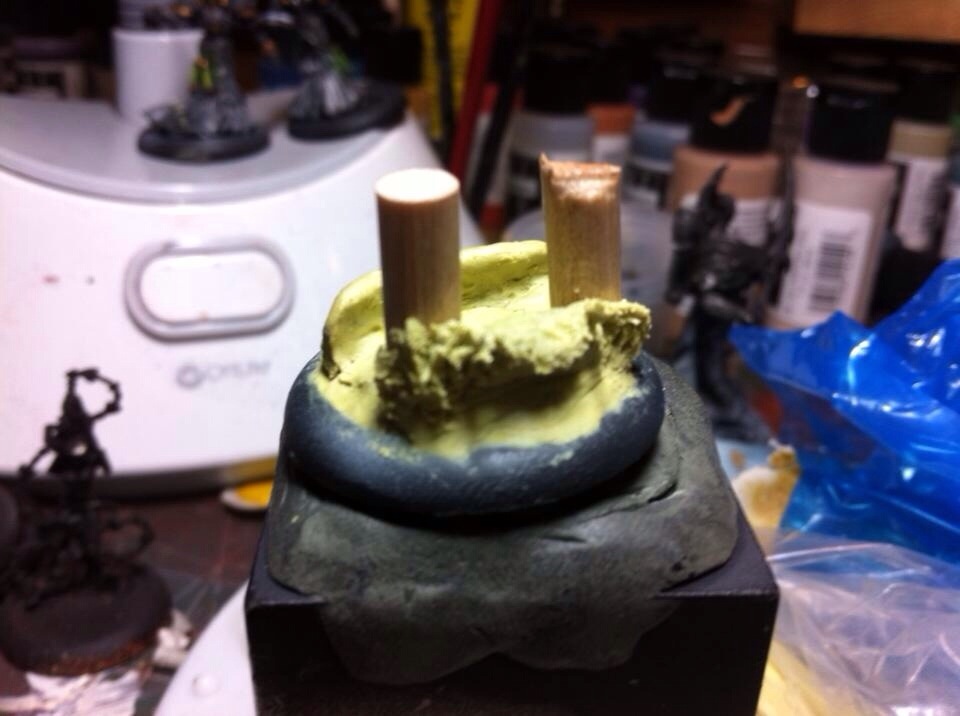
Step 1: So I start with cutting my pier posts and gluing them to the base. After that it’s a matter of creating a base of water. Here is what you have after the first step.
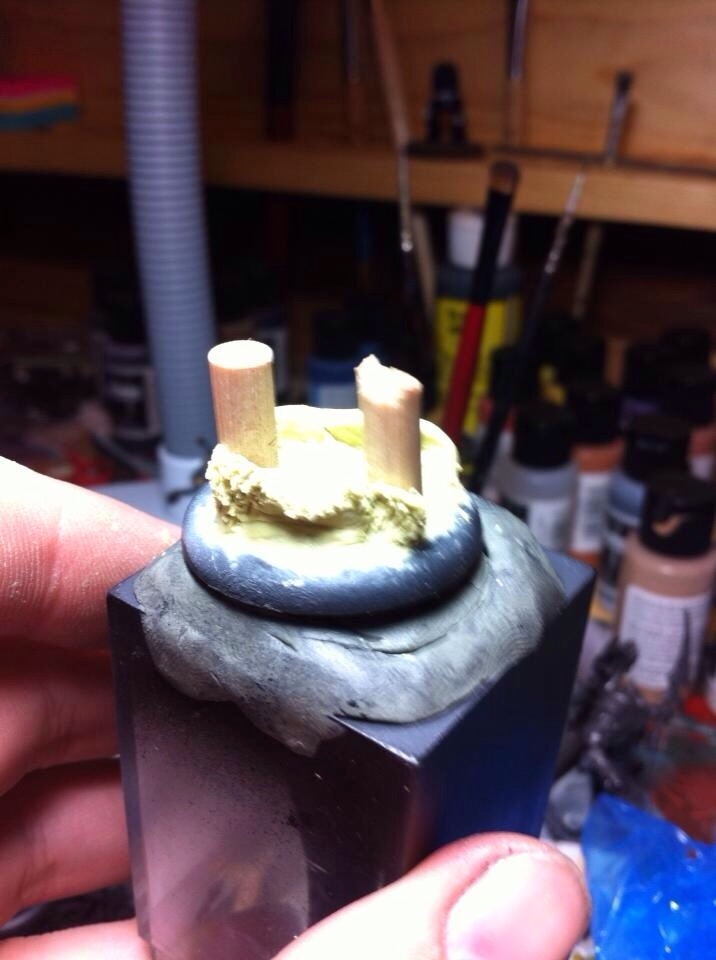
Step 2: For this I use gray stuff. It’s important that it not be flat. It does need to be smooth but dips are good. The flat edge shaper is awesome for this.
After you have your base down you roll a few logs of gray stuff for your breaking waves, about the size of the base is good. Attach it using the pencil shaper and push the wave over it to give it a breaking effect. Once you have your wave in place and anchored you use the sharp end of your shaper the one in the middle to make the wave look like it’s breaking up. Use the sharp end and always pull up not down and this is what you will have after some drying time.
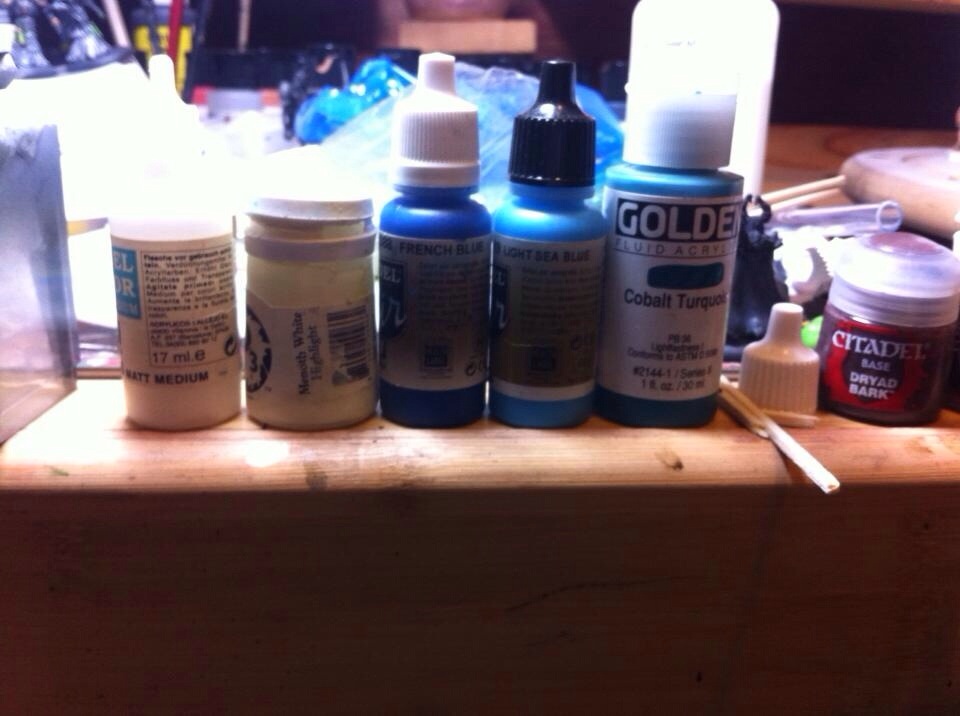
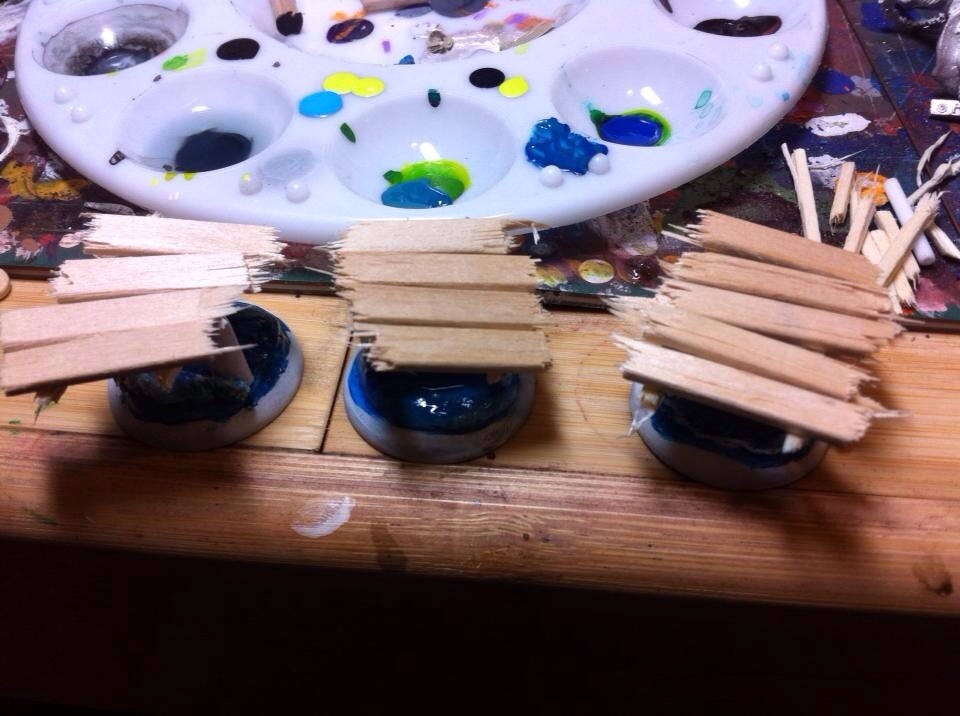
Step 3: Time for paint! Here is what I used for my color palette:
Step 4: I wet blended with matte medium, inside the waves are more green the base is a darker blue and anywhere the sun is hitting the top part of the wave I use a light blue. Add in some white where the waves are breaking and you are golden!
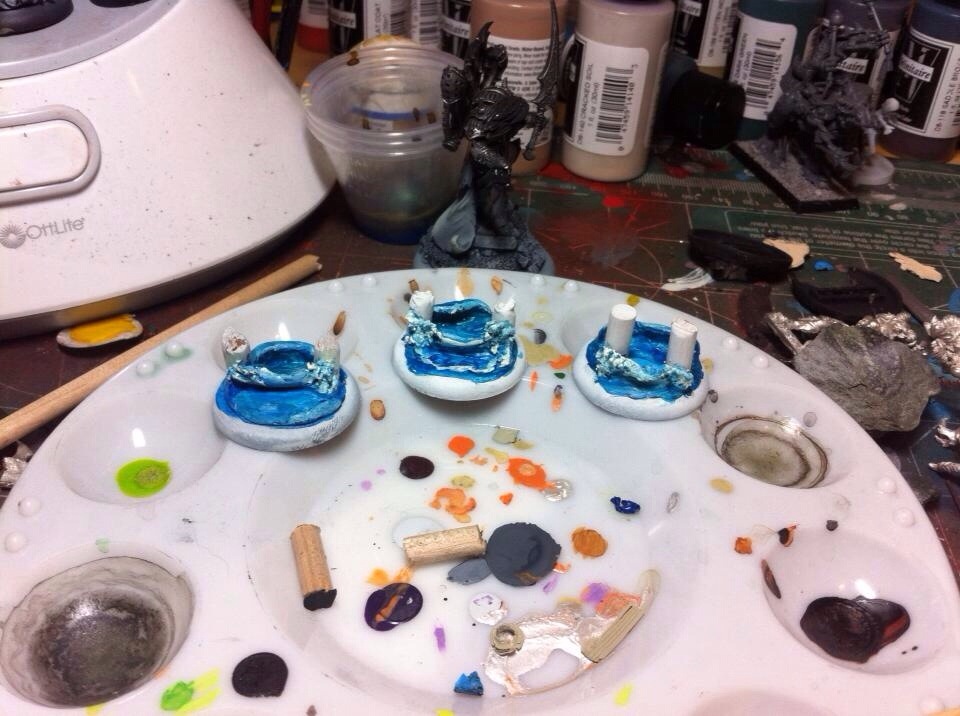
Don’t forget the water effects to give it some depth!
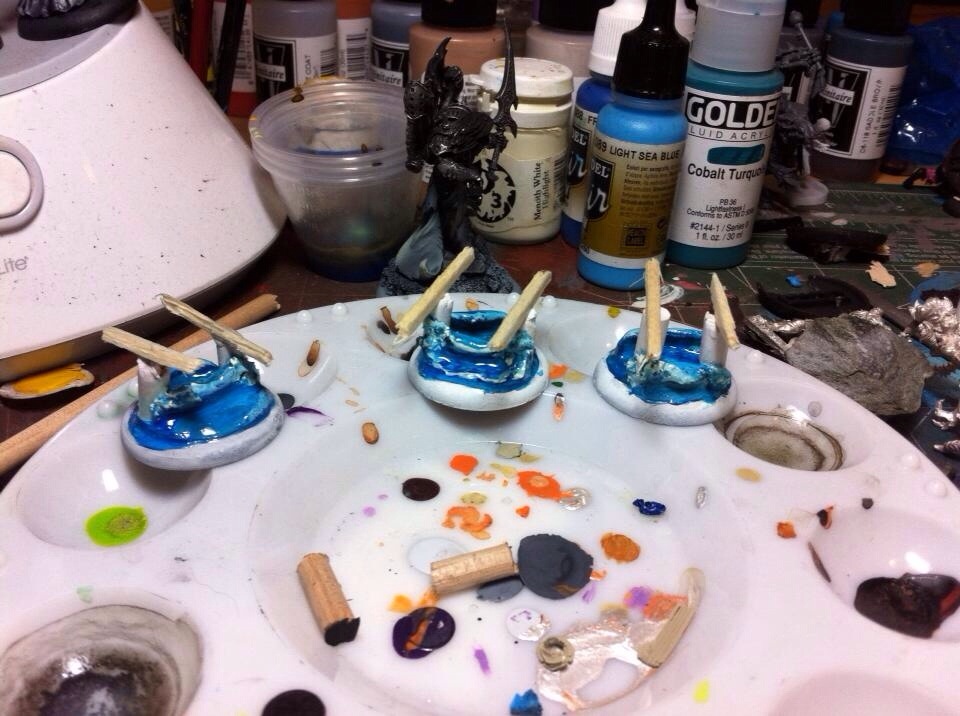
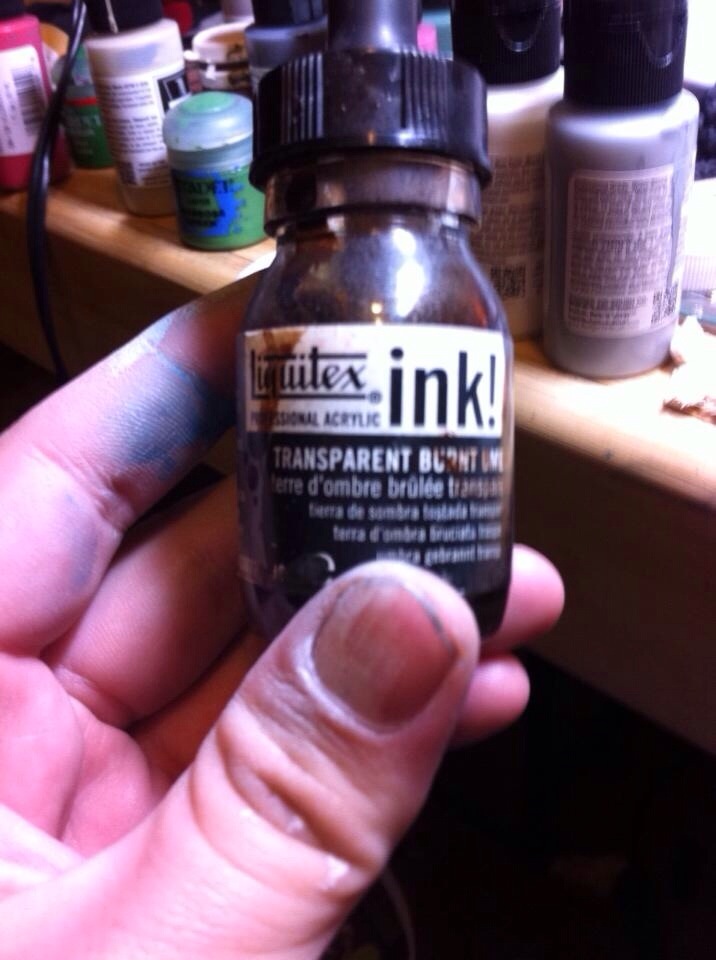
Step 5: Finishing the pier! Time to build the rest of the pier. Construction sticks from Michaels broken to similar lengths. The base is made of match stick cut the wood on top is Popsicle type. After it’s glued it gets stained with transparent burnt umber and the dudes get placed. The last thing I need to do is paint the bases black again.
Step 6: The final product, minus repainting the base black.

I actually learned a lot from this =)
It gave me an idea to write a do’s&dont’s list for bases