
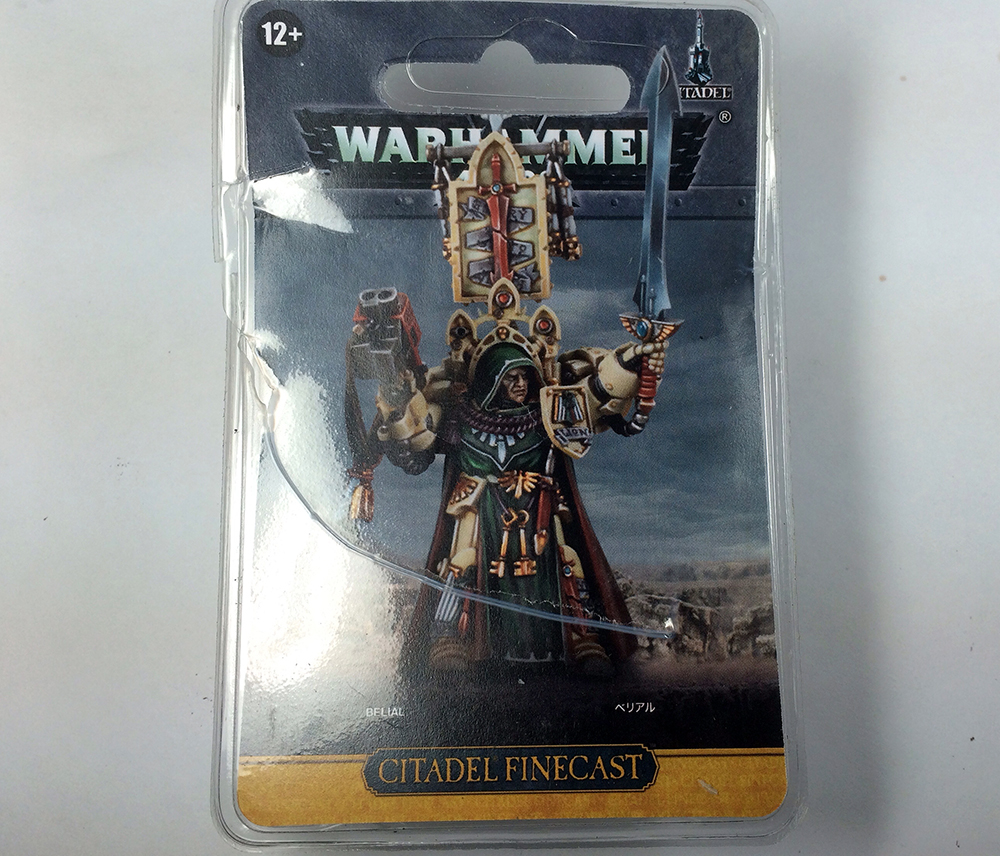
Since I’m currently putting together a Deathwing force for the 2014 HPC, I thought it might be prudent to get a Belial model and paint him up. Unfortunately, this model is only available in the much loathed finecast material. The internet is abound with horror stories about how bad finecast models are, and with good reason. The models are quite pricey and often have many problems. This issue is compounded with the fact that GW stores don’t stock many finecast models that aren’t brand new, so picking through a pile for the best example is often not an option. On the bright side, the material is reasonably easy to work with, and from what I’ve heard GW has a great return policy on them if you aren’t satisfied. Aside from returning models ad nauseam though, you’re likely to settle on an imperfect model. Here are some tips to get it into tip-top shape.
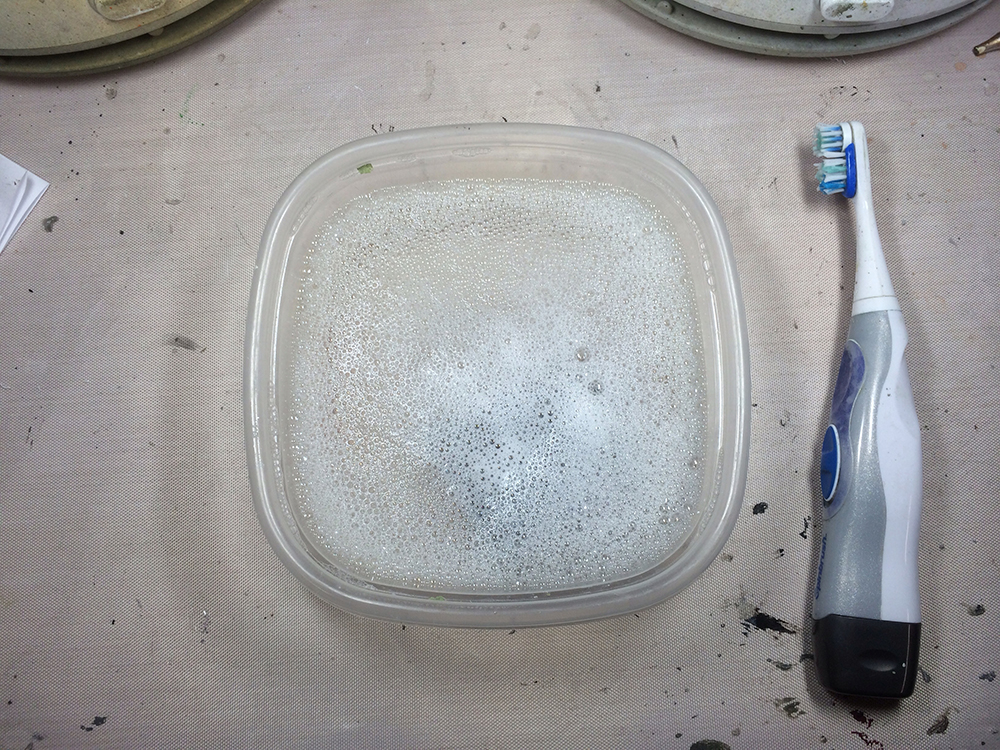
The first thing that needs to be done is to wash the model. During the manufacturing process a mold release agent is used. Since this substance is made to inhibit sticking, it’s no good for paint adherence. Use dish washing soap and tepid water to do this. It’s best to let the model soak in the mix for 5-10 minutes, followed by a thorough scrub with the brush. Don’t be too rough with the brush since the resin is fragile. Also, do not use warm water. The reason for this will become apparent during the sword straightening procedure. Once done, rinse the model well and air dry.
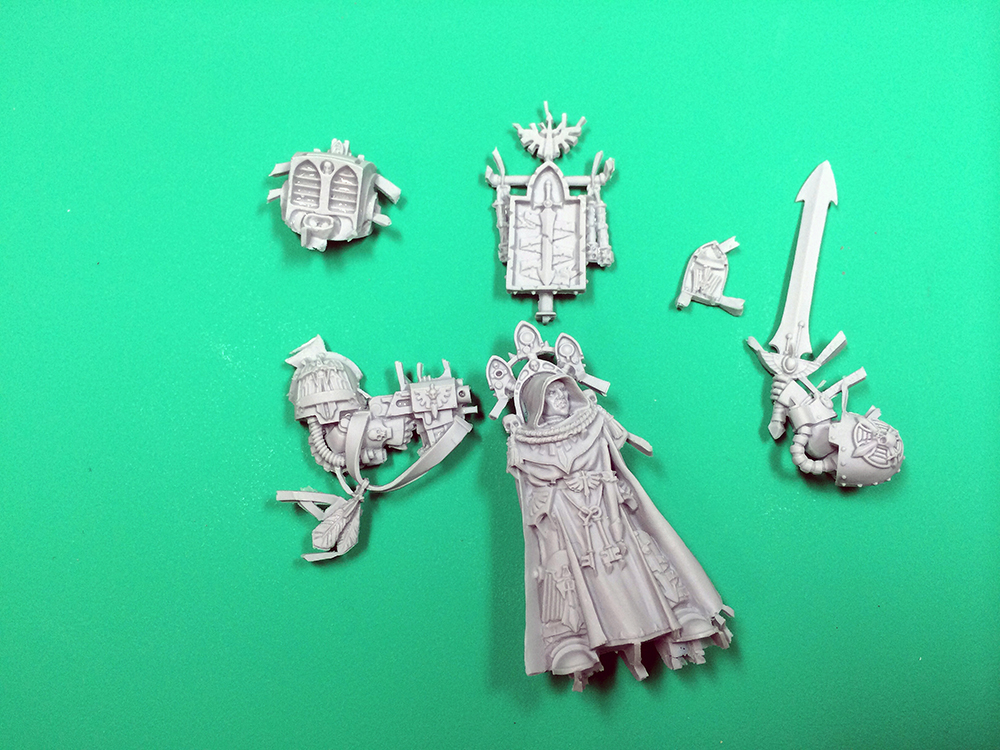
The next step is to remove the model from the sprue. I like to use quality sprue cutters for this. Never twist or tear the model from the sprue. It’s a bad idea with plastic, and even worse with resin. It is often convenient to make the first cuts far from the model as shown above to simply get the frame out of the way.
Once the parts are free there will be more room to do closer cuts. The best method of doing this is to cut sprue parts just slightly away from the model, leaving a few millimeters remaining. If the model is cut to closely, there is a risk of making a crater in the model where the cut was. Leaving a bit of room prevents this from happening. The remaining resin nub can then be removed with sandpaper or by using a scraping motion with a hobby knife.
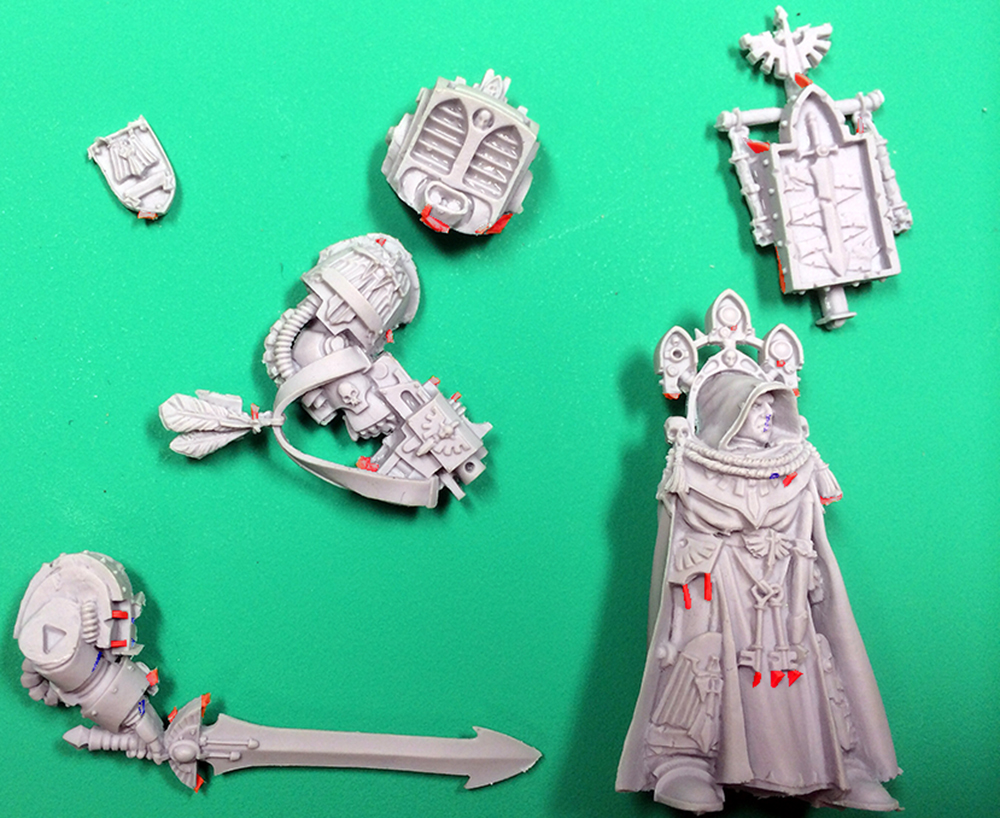
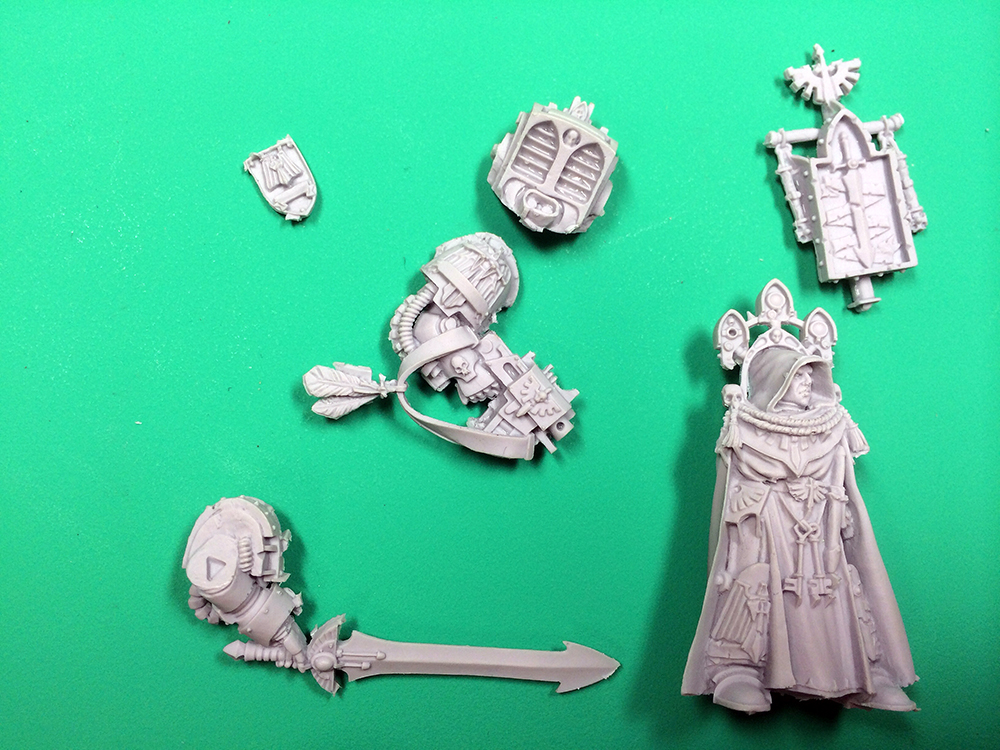
At first glance, it’s easy to look at the above model and think that it looks pretty good. Unfortunately, the devil is in the details. In this image, the two main problems with this medium are highlighted. The red regions consist of extra material. This includes the very large number of sprue connections. Unlike plastic there are also a great deal of gussets molded into the model. These are likely put in to make the model somewhat durable during shipping, but they all need to be picked out. The other main problem is missing material (in the form of bubbles), shown in blue. These parts are harder to see in the picture, and are fewer in quantity, but what they lack in numbers they make up for in difficulty to properly fix.
When buying a finecast model, plan ahead. Do an internet search for the model that you plan to buy with the term “finecast”. Forum threads can often be found with people explaining specific mold issues that they’ve had on that particular model. Armed with that knowledge, it’s much easier to spot problems while at the store because you’ll know what to look for.
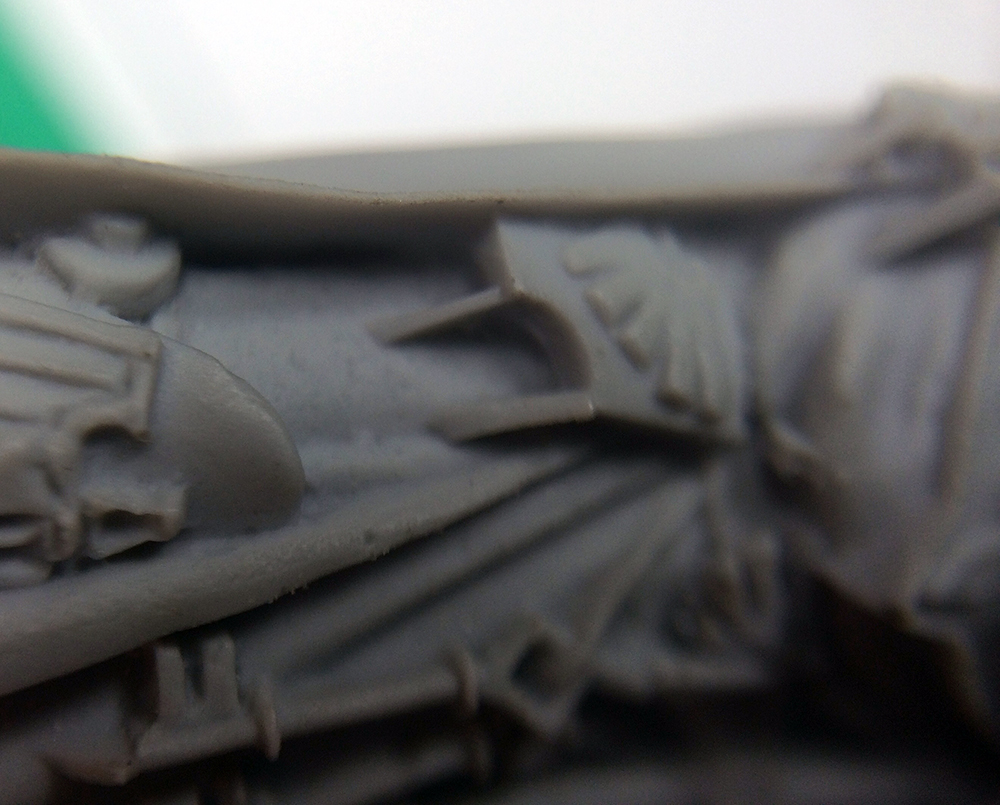
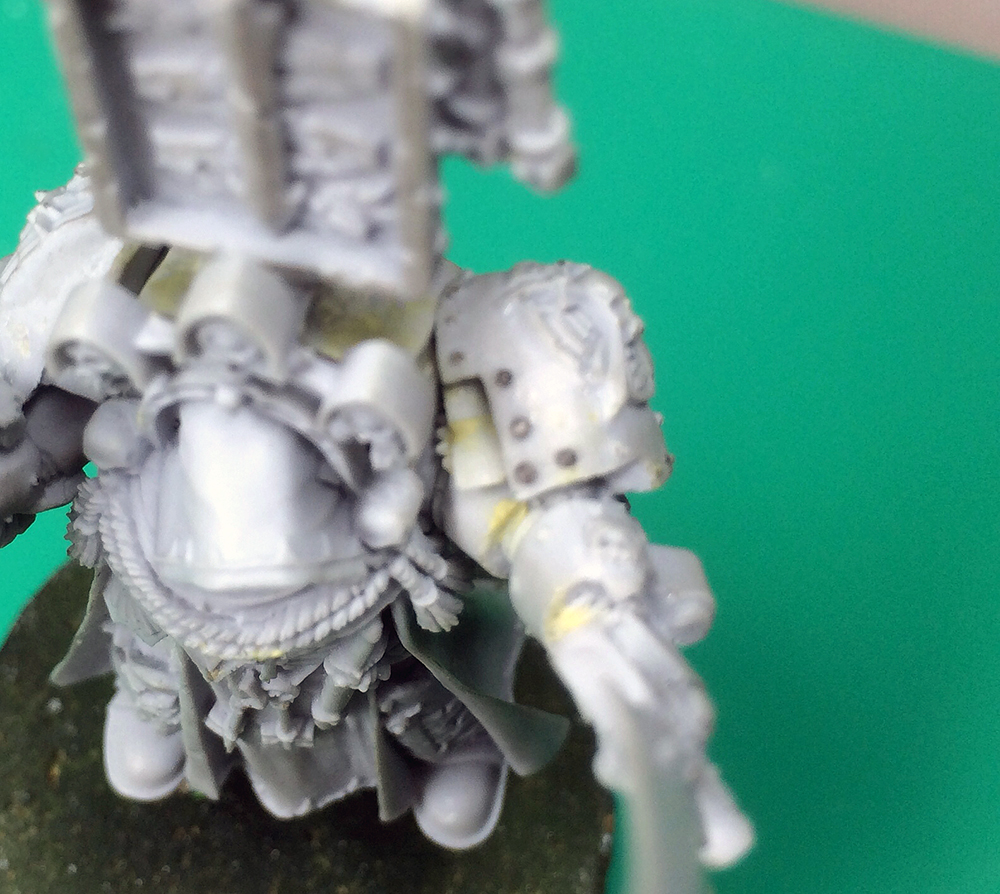
Here is a closeup of the pair of gussets on the thigh plate. They are easy enough to fix with a hobby knife since the resin is so soft. Carefully cut downward along the plate, then make a second cut along the leg. As with sprue cutting, it’s best to be conservative and leave material to be sanded off rather than trying to cut the whole piece off in one go.
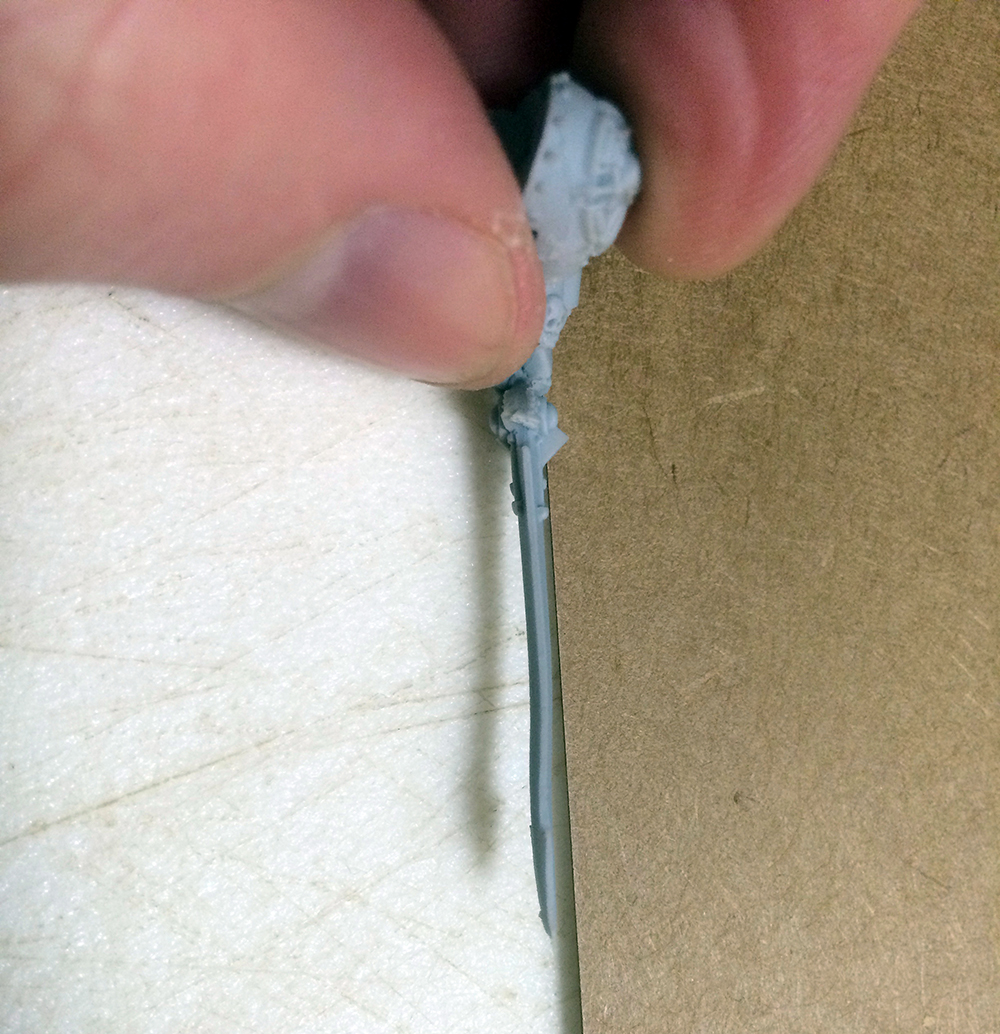
Because of the soft nature of resin, parts are often warped out of shape. The sword shown above was not straight, but with a little care, this can be easily fixed. Place the part in question under warm water from a water faucet for a few seconds and remove. With the resin warmed it will now be pliable. Rather than trying to bend the sword straight, I just applied light tension along the blade to pull it taut.
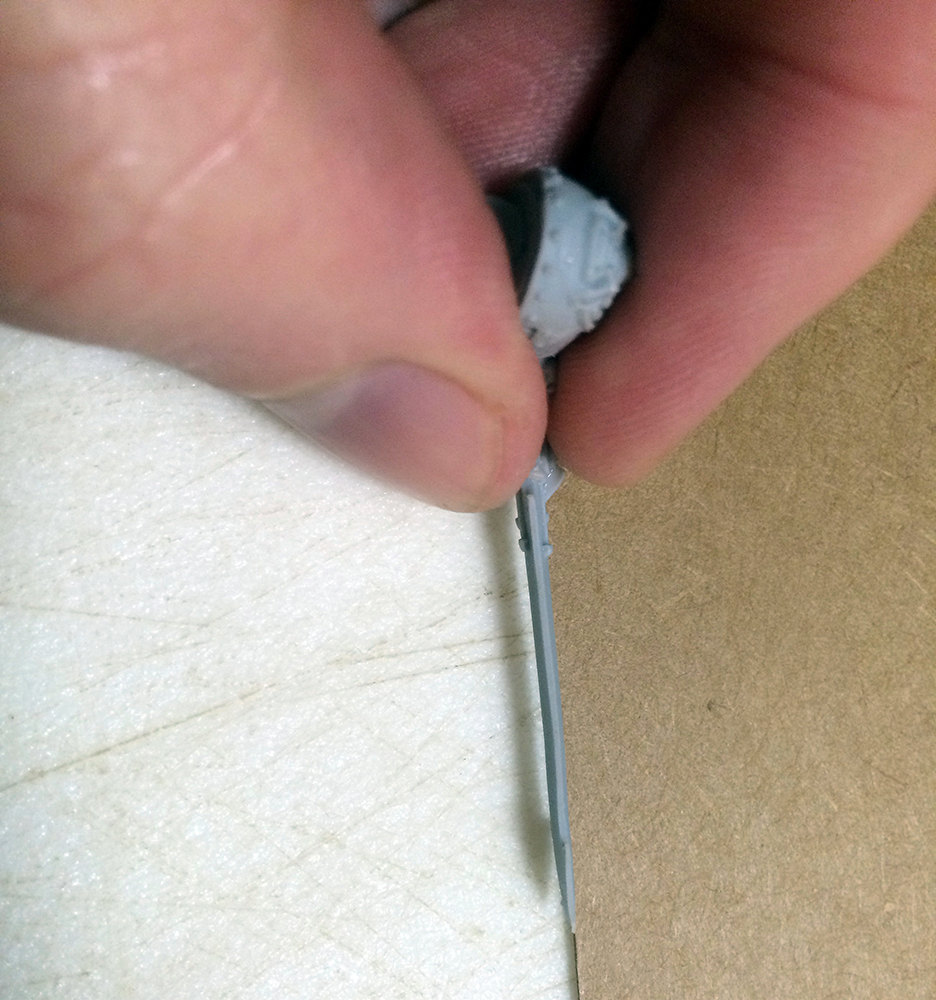
As can be seen, the sword is now straight. When new to this method, it’s best to start by exposing the piece in warm water for only a short time. If the piece isn’t warm enough to be pliable, simply try again. With more experience hotter water can be used, but the resin warps very quickly at these temperatures, so use caution.
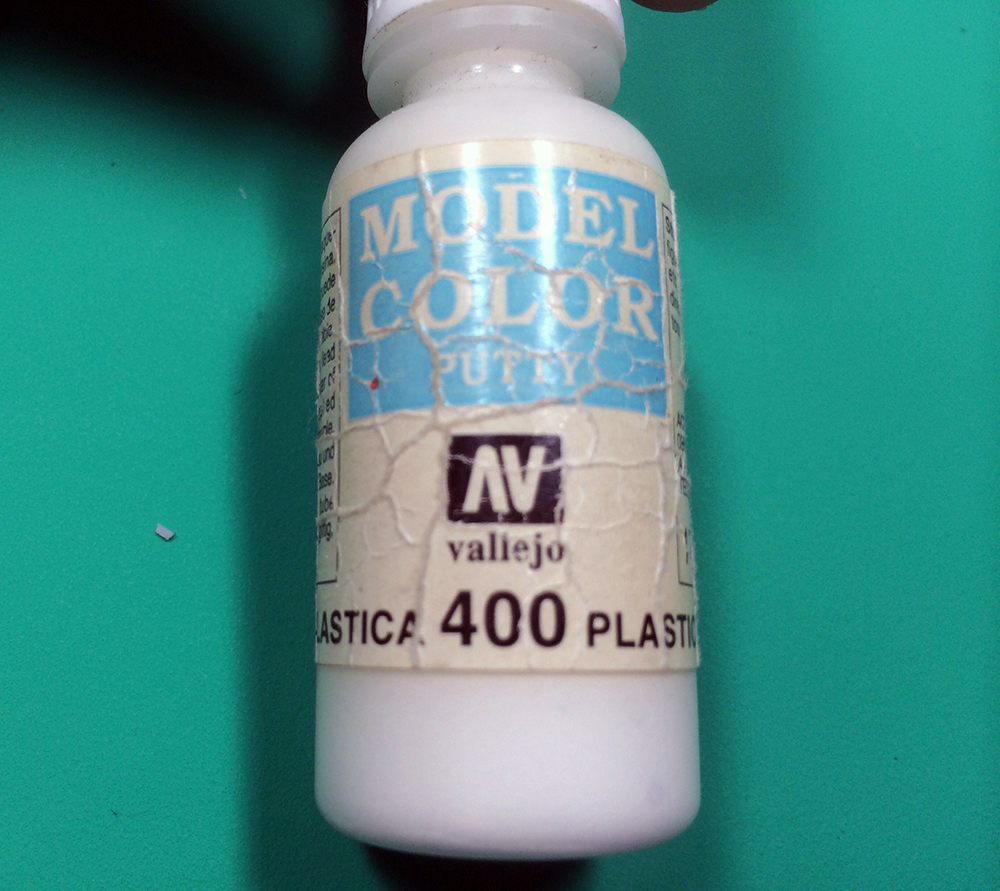
The most time consuming part of this process is filling the bubbles. The first filler I use is Vallejo Plastic Putty. This is similar to GW Liquid Green Stuff, and goes on like very thick acrylic paint.
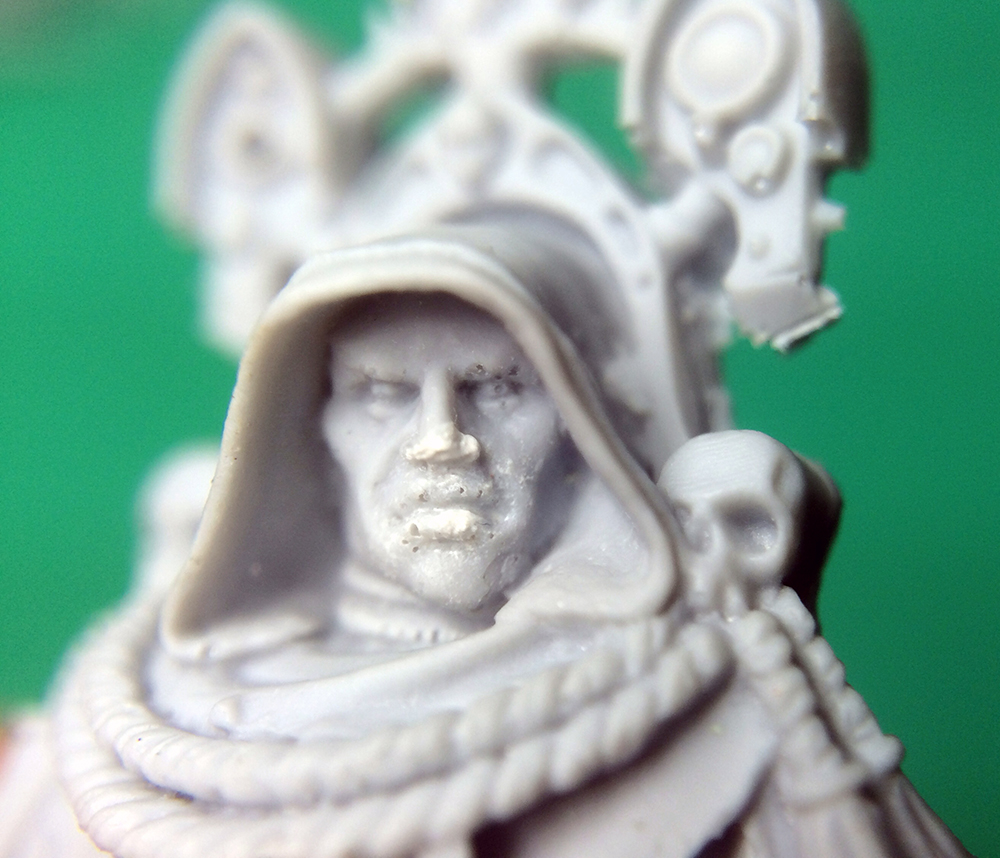
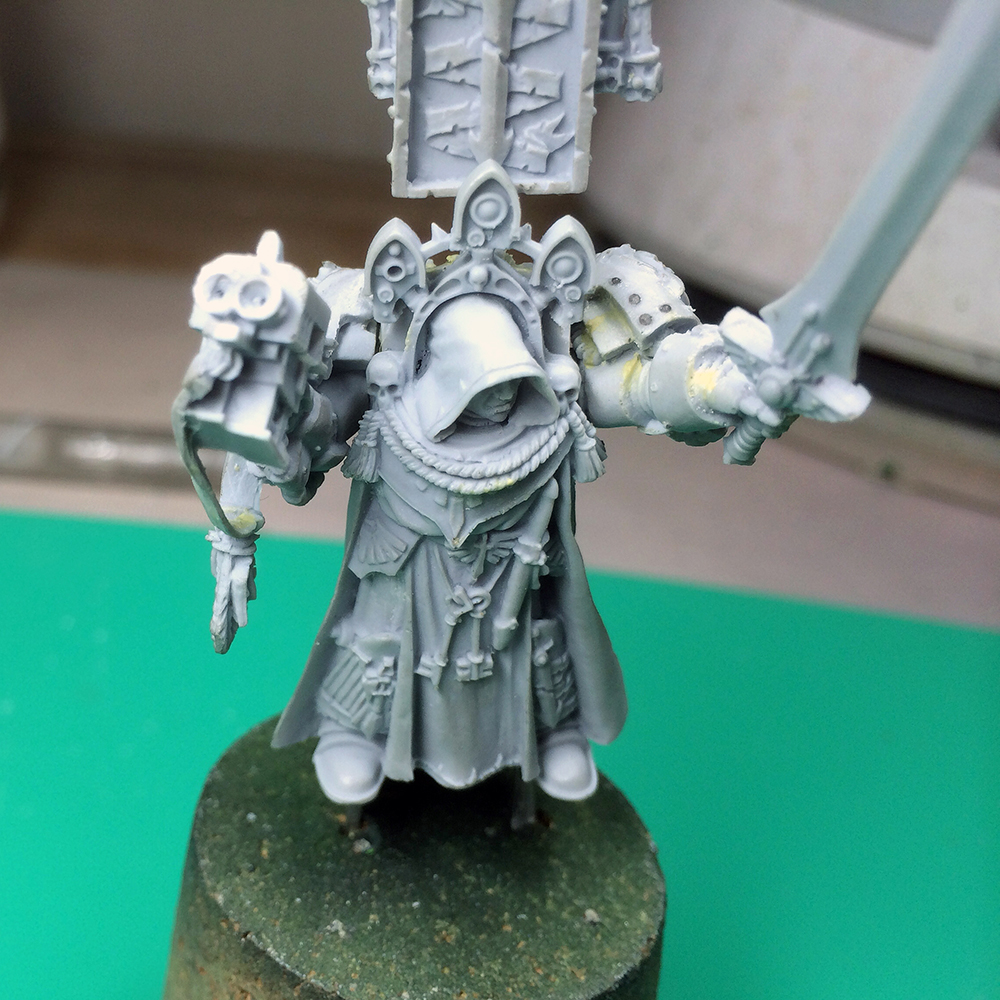
Belial had a nasty bubble on his lips and nose, a very unfortunate place since the face often garners the most attention from people. I simply dabbed a bit on the voids using a brush and let it dry. The upsides of this filler are that it’s easy and it dries quickly. The shortcomings are illustrated above. The filler doesn’t dry very smooth and should only be used on very shallow bubbles. In addition, this putty doesn’t respond well to sanding, and the whole putty piece will often come off in one chunk.
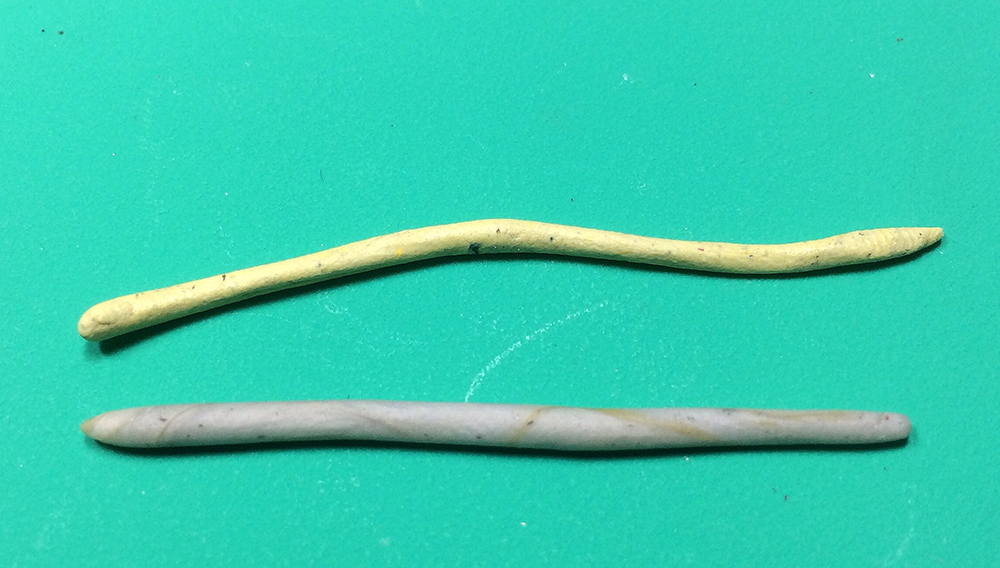
For most gap filling, Milliput is a better option. It takes a long time to dry, but the results can be worth it. I start by cutting off equal amounts of both parts of the epoxy, I then roll each out into snake shapes.

I then twist the two snakes together, then fold the twist back on itself and twist. Doing this distributes the two components well.
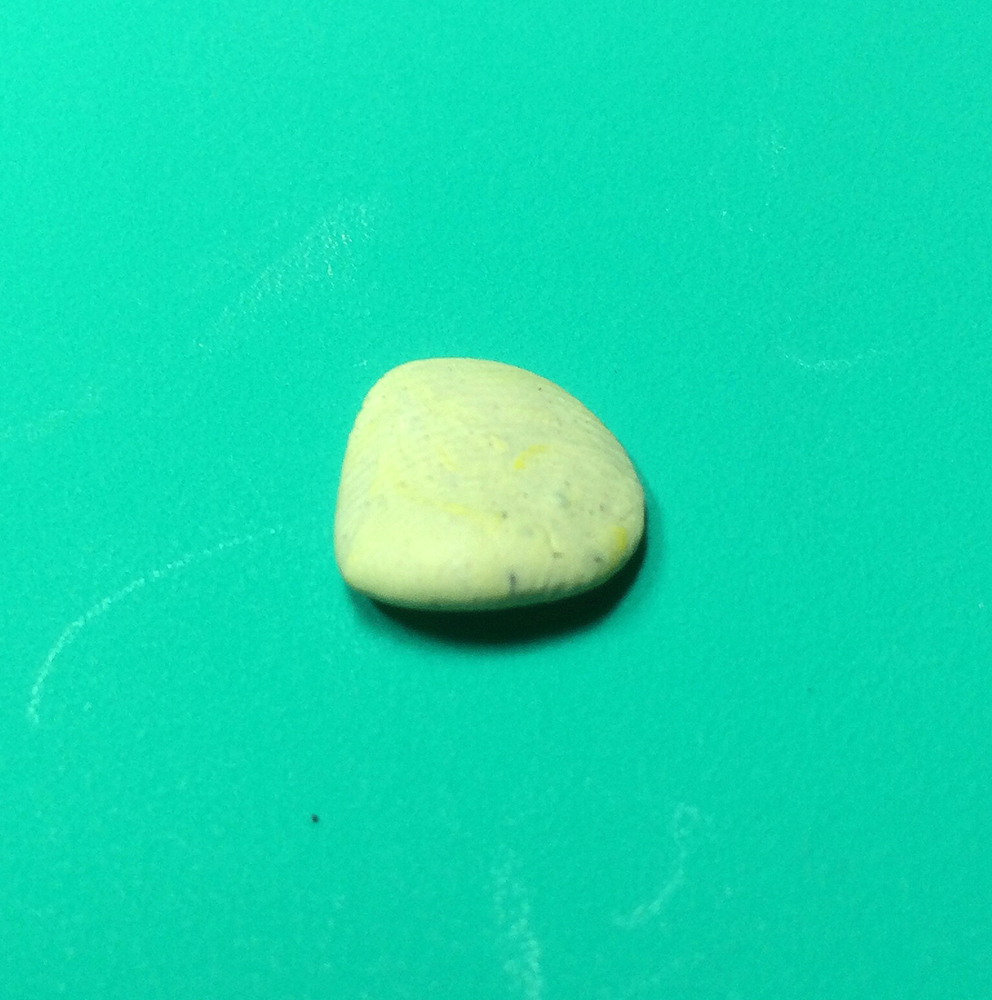
Proceed to twist and mix the epoxy until it is a uniform color as shown above. In this form, the putty can be used in large voids and areas that need sculpting (such as a hose or a flex joint). Once the void is filled, a dampened clay shaper can be ran over the surface to give a smooth finish.

Milliput is also useful mixed with water. You can also use the back end of a brush to make a dam like in mashed potatoes. Add water to the center, then the back of the brush can again be used to mash Milliput into the water to mix the wet Milliput concentration needed. This mix can be brushed onto shallow gaps and produces very smooth results. One note of caution, this mix can cause tide marks much like thin paint, so avoid excessive pooling.
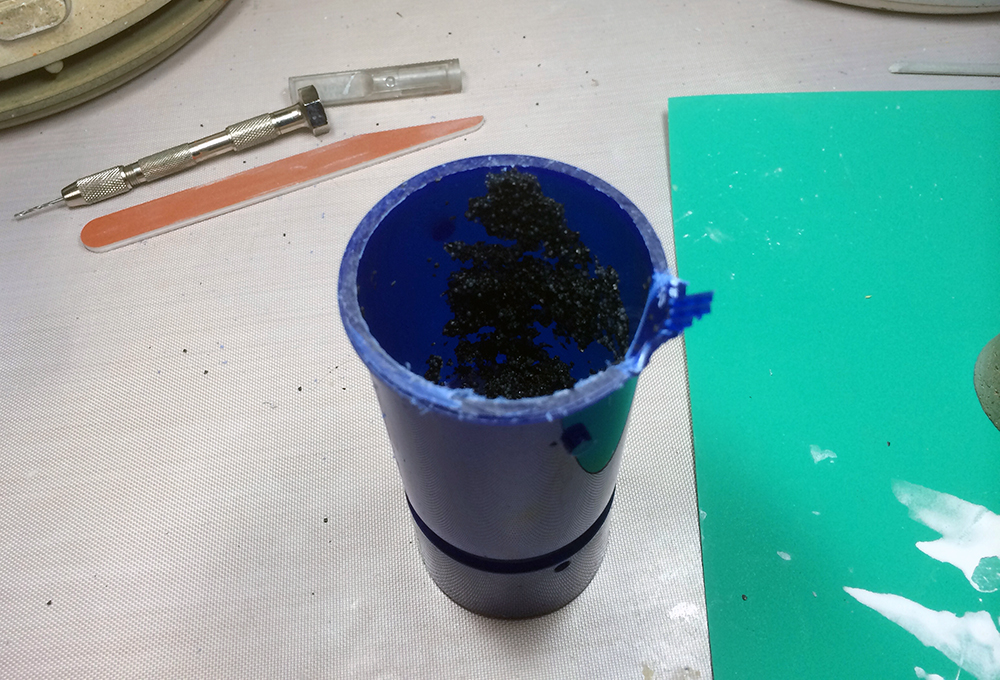
The biggest problem with this model was in the shoulder pad rivets. Some were missing or inverted, and Milliput can be difficult to shape uniformly enough to look good. To fix this I proceeded to break open a used Brita water filter.

Inside of the filter there is a mix of charcoal shards and styrene balls of varying sizes. The charcoal can be used for basing, but it’s the styrene spheres that we’re after right now. The diameters vary greatly from ball to ball, so choose what works best for the application..
The balls make great rivets and studs, and one filter should be enough for a lifetime of modelling. Carefully establish where a stud needs to go, then use a hobby drill to make a shallow hole the appropriate size so that the ball can be half inserted. A pin can be dipped into CA glue and applied at the edge. Most hobby drills do not come with bits this small, but Harbor Freight sells a variety pack with many very small bits for a few dollars.
The model can now be assembled using CA glue and is ready for priming.
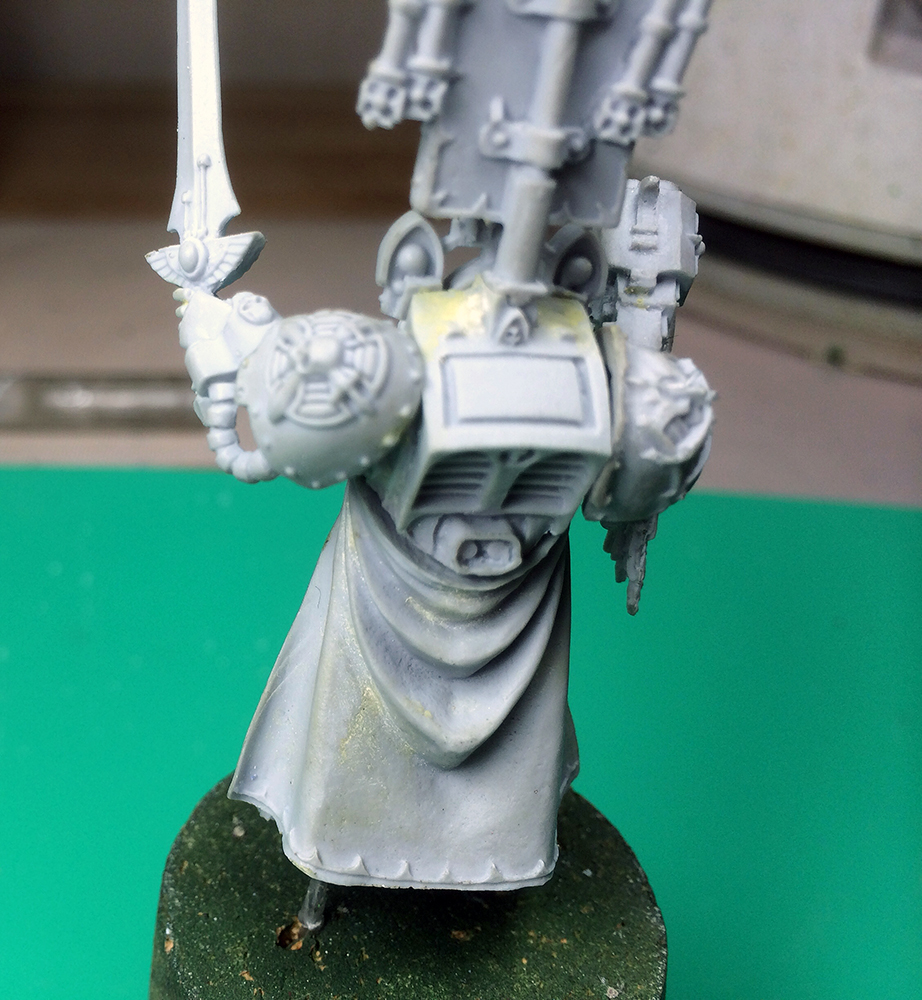
The back of the model shows the different Milliput techniques used. The small bubbles in the cape were filled with wet Milliput, while the armor at the top required the sold form. As can be seen from the final two pictures, this model required a lot of work to get up to snuff. If this were just another troop it might be easy to overlook some of these shortcomings, but as it is the master of my army, it was worth the extra time and effort needed.
My problem is I always miss some of those gusset things until I am in the middle of painting. Is there any way to tell what is a gusset and what is part of the model? Or is it pretty much go online and learn from someone who has done it before?
It can be difficult. If you look at the photo where the gussets are highlighted, there are tiny red highlights on the banner and the targeter boxes. The banner gussets are a good example of hidden gussets. They are really difficult to spot since they don’t stand out. Carefully inspect the model and imagine how the parts will look painted. If the shape doesn’t make sense it’s probably a gusset. On the other hand, the targeter gussets look like they could be a part of the sculpt (there is even a tab on one that isn’t a gusset but is intended to be there). With something like that a reference picture from the GW site might be your best bet. The 360 degree pics they often have now are really helpful for this.
It’s horrifying that you should even consider putting that much work into *fixing* a brand new, out-of-the-box miniature. You shouldn’t be expected to perform that sort of modelling job unless you’re modifying the figure at your own leisure.
I completely agree…and sadly, this article didn’t cover all of it. After I finished this post I decided that the right shoulder pad wasn’t great either. The rivets were also not great, and the whole guard fin on the edge was thin and warped. Since I had the exact same pad in the Deathwing Knights box I just sanded the whole thing off and put a plastic one on.
I try not to rant, but finecast is a very disappointing product at almost any price point. The fact that GW charges what they do makes the situation worse. Since finishing I’ve also found that I can’t use my KR multicase for this model because any pressure deforms the sword. I’ve considered doing a Dark Eldar army, but the prevalence of finecast makes it a very unattractive option.
All I can say is hopefully they switch manufacturing methods soon.
I have trouble where every finecast miniature I get has a grainy surface even through the primer. Is there any fix for this or am I missing something?
This thread was done in 2014 my man. however, i never use a primer undercoat for finecast stuff. learned that after i wrecked about a dozen forgeworld models in one go. base coat with a brush and a slightly watered down base paint.
there is actually a technic to paint your miniatures smoothly, maybe that is the reason you get grainy surface
you should try reading this, it helped me a lot
https://leisureguided.com/how-to-paint-miniatures-smoothly/